Transform Your Kitchen With DIY Jar Shelves
Share
I transformed my kitchen with a DIY jar shelf system that's both functional and stylish. I started by gathering essential materials, prioritizing quality over cost for the pine board and metal brackets. Building the shelf unit required attention to detail, ensuring accurate measurements and straight shelves. With the finishing touches, I added trim to cover rough edges and created a polished look. Now, I can maximize storage benefits with giant airtight jars holding bulk foods and frequently used items. Want to know how to customize your own DIY jar shelves and reveal the full potential of your kitchen?
Key Takeaways
• Prioritize quality materials, like a sturdy pine board and metal brackets, to ensure a safe and functional storage space.
• Accurate measurements and a level are crucial for building shelves that fit perfectly and hold the weight of the jars.
• Add a polished look with 1/4 by 1 trim, caulk, and spackle to cover rough edges and create a seamless finish.
• Maximize storage benefits by utilizing upper shelves for less frequently used items and lower shelves for daily essentials.
• Customize your design with styling jars, decorative labels, and Rub n Buff on jar lids to add a personal touch to your kitchen.
Gathering Essential Materials
I'm starting my DIY kitchen jar shelves project by collecting the necessary materials. These include a 1x12x37 pine board, three inexpensive metal brackets, roughly 62 feet of 1/4 by 1 trim, four giant 138 oz airtight jars, a stud finder, pencil, level, and paint for the shelves and brackets.
When shopping, I'll prioritize quality over cost for the pine board and metal brackets, making sure they can hold the weight of the jars. To optimize space, I'll choose trim that complements the kitchen's aesthetic.
DIY hacks like using a stud finder will secure the shelves are attached to the wall. By selecting the right materials, I'll create a safe and functional storage space that's perfect for my kitchen.
Building Your Shelf Unit
Cutting the pine board to size is the first step in building my shelf unit, an important process that demands attention to detail to make certain the shelves fit perfectly and hold the weight of the giant airtight jars.
I take my time to verify accurate measurements, using my level to ensure the shelves are straight.
Next, I identify the ideal shelf placement, considering the height and spacing to optimize storage and accessibility.
I also think about decorative options, such as painting the shelves and brackets to match my kitchen's aesthetic.
With my shelves and brackets ready, I'm excited to move on to the next step of securing them to the wall.
Adding Finishing Touches
With my shelves and brackets firmly in place, I turn my attention to adding the finishing touches, starting with the application of 1/4 by 1 trim to cover any rough edges and create a polished look.
I caulk and spackle any cracks, sanding and touching up the paint to ensure a seamless finish. Now it's time to think about styling jars and decorating tips.
I consider adding a personal touch with customized labels or Rib n Buff on the jar lids. Finally, I step back to admire my handiwork, feeling proud of the transformation my DIY jar shelves have brought to my kitchen.
Maximizing Storage Benefits
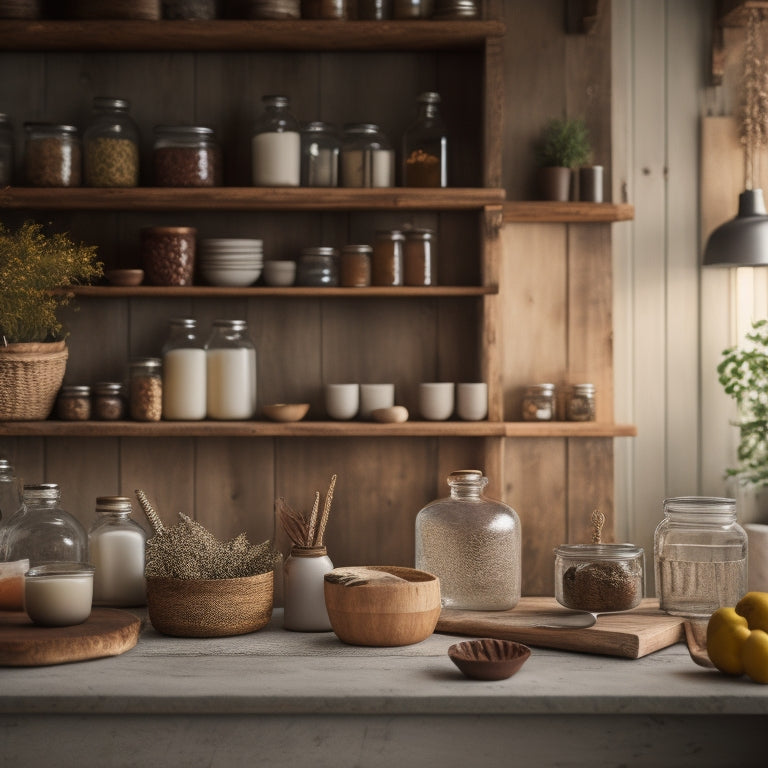
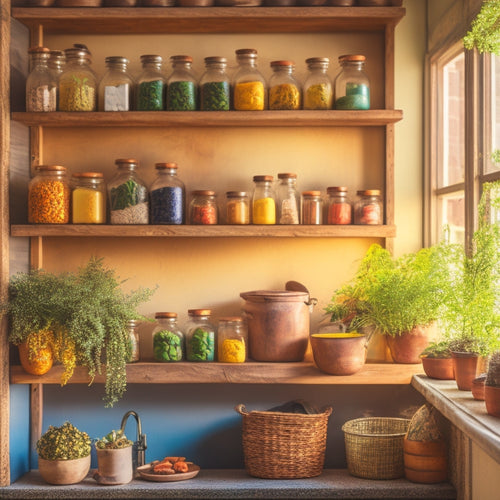
Four giant airtight jars now sit proudly on my new DIY kitchen jar shelves, providing ample storage for bulk foods and frequently used items. I can easily access my favorite snacks, and the kids can grab their own healthy treats without cluttering the countertops.
To maximize storage benefits, I employed some clever organization tips:
-
I store less frequently used items, like special occasion spices, on the upper shelves, keeping the lower shelves free for daily essentials.
-
I utilize the space underneath the shelves for storing cookbooks, recipe binders, or infrequently used kitchen gadgets.
-
I designated a specific jar for each type of food, making it easy to see what's running low and what needs restocking.
Bringing It All Together
As I step back to admire my newly installed DIY kitchen jar shelves, I feel a sense of accomplishment and satisfaction, knowing that every detail has come together to create a functional and stylish storage solution.
The customization options I chose, like the Rub n Buff on the jar lids, add a personal touch to the design.
I'm confident that the shelves meet my earthquake safety concerns, with the secure brackets and lip on the shelves to contain the jars. The level and sturdy installation guarantees that the jars won't fall easily, even in the event of an earthquake.
With my DIY project complete, I can now enjoy the convenience and storage benefits of my new kitchen jar shelves.
Frequently Asked Questions
Can I Use Glass Jars Instead of Airtight Containers?
As I gaze into my kitchen, I envision a treasure trove of glass jars, sparkling like diamonds on my DIY shelves. Yes, I can use glass jars, like Mason jars, for pantry storage, but I'll make sure they're securely fastened to prevent them from shattering like broken dreams.
How Do I Clean the Shelves and Jars Regularly?
I clean my DIY jar shelves regularly by dusting with a damp cloth, wiping jars with soap and water, and rearranging storage solutions to maintain organization; this maintenance routine guarantees a safe and tidy kitchen space.
Are the Shelves Suitable for Heavy Items Like Cookbooks?
Honestly, I wouldn't overload these shelves with heavy items like cookbooks, considering the shelf weight and durability. The 138 oz airtight jars are sturdy, but stability is key; I'd reserve these shelves for lighter kitchen essentials to guarantee safety and longevity.
Can I Customize the Shelf Design to Fit My Kitchen Style?
I love that I can customize the shelf design to fit my kitchen style - from modern to rustic, I can choose the perfect trim, paint, and bracket finishes to create a personalized look that reflects my unique taste.
Will the Shelves Hold up in a Humid Kitchen Environment?
"Can I really trust these shelves to withstand the humid kitchen environment?" I wonder. Fortunately, with moisture-resistant paint and durable materials, these DIY shelves are built to last, offering a reliable storage solution that won't let me down.
Related Posts
-

Stylish Pegboard Storage for Open Kitchen Concepts
Stylish pegboard storage can completely enhance your open kitchen concept, merging practicality with contemporary fla...
-

Sink Storage Solutions for Open-Concept Kitchens
To maximize storage in your open-concept kitchen, focus on clever under-sink solutions and vertical space utilization...
-

Wall Racks for Storing Kitchen Herbs and Spices
Wall racks for storing kitchen herbs and spices are a revolutionary advancement for maximizing your kitchen space. Th...


