Easy DIY Hacks for Kitchen Storage Beginners
Share
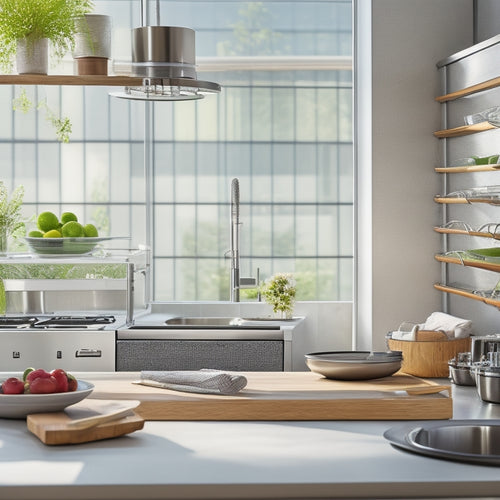
You're about to transform your kitchen into a clutter-free and efficient space with these easy DIY hacks, starting with simple and practical solutions to maximize your cabinet space, utilize hidden corners, and declutter countertops. Begin by purging unnecessary items, sorting categories, and installing cabinet dividers. Then, creatively transform hidden corners with corner shelving and clever storage solutions. Finally, clear countertops by sorting items into zones and using utensil organizers. As you tackle these starter hacks, you'll uncover even more opportunities to optimize your kitchen's storage potential - and discover a workflow that's truly tailored to you.
Key Takeaways
• Purge unnecessary items and sort remaining items into categories to maximize cabinet space and reduce clutter.
• Transform hidden corner areas with creative shelving, blind cabinets, and clever storage solutions to free up valuable space.
• Utilize everyday items like Mason jars, binder clips, and old mugs to repurpose them as storage containers and organizers.
• Create a spice station with a designated rack style and organized spices to maximize cabinet space and efficiency.
• Implement utensil organizers, dividers, and zones in drawers to reduce clutter and increase accessibility to frequently used items.
Maximize Cabinet Space Quickly
Maximize Cabinet Space Quickly
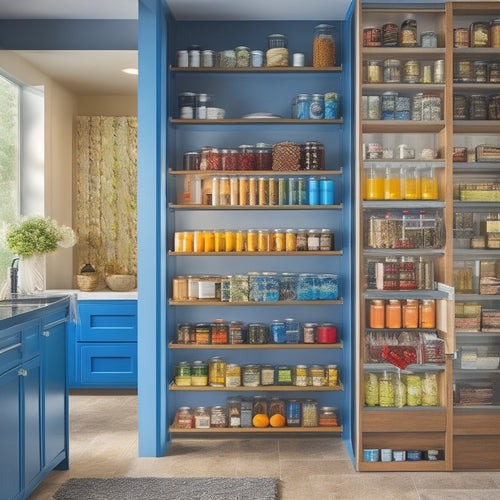
Start by purging your cabinets of everything you don't need or use regularly, and sort items into categories to reveal the true extent of your storage space. This will give you a clear picture of what you're working with.
Next, install Cabinet Dividers to separate items within each shelf, keeping similar items together and making them easier to access. This simple hack will instantly create more space and reduce clutter.
To take it a step further, add Shelf Liners to protect your shelves from spills and stains, and make cleaning a breeze. These liners also provide a smooth surface for sliding items in and out of the cabinet.
Utilize Hidden Corner Areas
Your kitchen's hidden corner areas, often wasted spaces, can be transformed into valuable storage zones with a little creativity and some clever DIY solutions.
One effective way to utilize these areas is by installing corner shelving. This allows you to store items that are frequently used, such as spices or oils, within easy reach. You can also use corner shelving to display decorative items, adding a touch of personality to your kitchen.
Another option is to create blind cabinets in these hidden corner areas. Blind cabinets are basically cabinets that blend seamlessly into the surrounding walls, providing ample storage without visually cluttering the space.
By incorporating these clever storage solutions, you'll be able to free up valuable cabinet space and create a more organized, functional kitchen.
With a little creativity and some DIY know-how, you can turn those awkward corner areas into valuable storage zones that make your kitchen more efficient and enjoyable to use.
Declutter Countertops With Ease
By reclaiming your kitchen's hidden corner areas, you've already taken a significant step towards a more organized space; now, it's time to tackle the clutter that's accumulated on your countertops.
It's easy to let countertops become a catch-all for kitchen essentials, but this can quickly lead to Countertop Chaos. To regain Surface Sanity, start by clearing everything off your countertops and sorting items into categories. Be honest with yourself – do you really need that extra blender or can it be stored away?
Once you've purged your countertops, assign a home for each item. Designate zones for specific tasks, such as a coffee station or a baking area. This will help maintain order and make meal prep more efficient.
Use a utensil organizer or a tray to corral small items, and consider investing in a countertop cart or shelves to maximize storage.
Repurpose Everyday Items
As you declutter your kitchen, you'll likely stumble upon everyday items that can be repurposed to enhance your storage capabilities. One great example is Mason Jars. These versatile containers can be used to store everything from spices to utensils, keeping your countertops clutter-free. Another item you might have lying around is Binder Clips. These can be used to organize cables, hang bags, or even create a makeshift desk organizer.
Here are some more everyday items you can repurpose for kitchen storage:
| Item | Repurposed Use |
|---|---|
| Old mugs | Store small kitchen gadgets like garlic presses or tea infusers |
| Wooden spoons | Use as plant markers or as a DIY utensil organizer |
| Cardboard tubes | Transform into paper towel holders or craft supply organizers |
| Old baskets | Hang on the wall to store snacks, linens, or cleaning supplies |
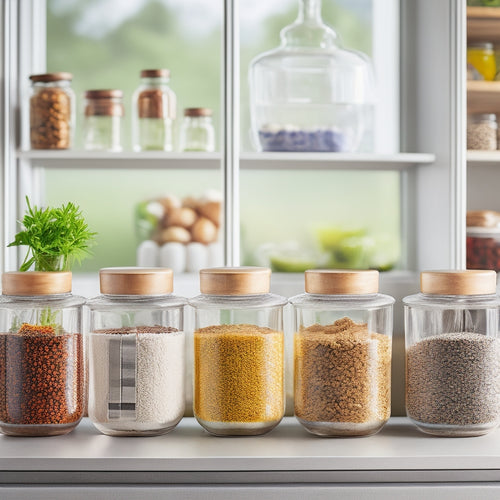
| Glass containers | Store dry goods like pasta, rice, or coffee beans |
Create a Spice Station
As you start creating your spice station, you're probably wondering what essentials to include and how to organize them efficiently.
You'll want to prioritize the most frequently used spices and consider innovative ways to maximize the often-wasted space in your kitchen cabinets.
Spice Rack Essentials
Here's the output:
You'll need a combination of essential spices, a functional rack, and smart storage solutions to create a well-organized spice station that streamlines meal prep. A well-stocked spice station should have a mix of everyday spices and specialty spices to cater to different cuisines.
When it comes to spice levels, consider the frequency of use and the type of dishes you cook. For instance, if you cook a lot of Asian dishes, you may want to prioritize spices like ginger and sesame seeds.
Here are some essential spices and rack styles to get you started:
| Spice Levels | Rack Styles |
|---|---|
| Everyday Spices (e.g., salt, pepper, oregano) | Wall-mounted racks for easy access |
| Specialty Spices (e.g., curry powder, paprika) | Countertop racks for frequently used spices |
| Baking Spices (e.g., cinnamon, nutmeg) | Adjustable racks for customizable storage |
Remember to choose a rack style that fits your kitchen layout and personal preference. By combining essential spices with a functional rack, you'll be well on your way to creating a spice station that makes meal prep a breeze.
Spice Organization Ideas
Now that you've stocked your spice collection, it's time to corral them into a cohesive station that saves you time and reduces clutter. A well-organized spice station is a game-changer for home cooks, and it's easier to achieve than you think!
Start by designating a specific area for your spice station, such as a kitchen cart, countertop, or even a pegboard. Consider a Spice Themed Decor that reflects your personal style, from modern and sleek to rustic and vintage.
Next, choose a Seasoning Systems that works for you. You can opt for a traditional spice rack, a rotating carousel, or even a magnetic strip. Label each container so you can easily identify the contents. Group similar spices together, such as baking spices or international seasonings, to streamline your cooking process.
Maximize Cabinet Space
You can further optimize your spice station by repurposing a cabinet to create a dedicated hub for your spices, freeing up valuable counter and shelf space. This will allow you to store all your spices in one convenient location, making meal prep a breeze.
To create your spice station, start by installing cabinet dividers to separate your spices from other kitchen items. Next, add shelf labels to identify the contents of each shelf, ensuring you can quickly find the spice you need.
Here's a suggested layout for your spice station:
| Shelf | Contents | Label |
|---|---|---|
| Top | Infrequently used spices | Rare Spices |
| Middle | Everyday spices | Common Spices |
| Bottom | Baking supplies | Baking Essentials |
Optimize Drawer Storage Zones
As you tackle your kitchen storage, you're about to transform your drawers from cluttered chaos to organized oases.
To get started, you'll need to assign zones within each drawer, sorting items into categories that make sense for your cooking habits.
Zone Assignment Strategy
Assign everyday items like utensils, spices, and cooking tools to specific zones within your drawers, making it easier to locate what you need in a flash. This zone assignment strategy is vital for optimizing your kitchen layout and storage blueprint. By categorizing your items into zones, you'll reduce clutter and increase efficiency.
Start by identifying the items you use most frequently and grouping them together. For instance, designate a zone for baking supplies, another for cooking essentials, and so on. This will help you navigate your drawers quickly and easily.
Consider the 'golden zone' – the area between your waist and shoulder height – and reserve it for your most-used items. This will save you time and energy in the long run.
By implementing this strategy, you'll be able to whip up a meal in no time, without having to dig through a jumbled mess of utensils and supplies.
Organize Utensil Clutter
With your zones assigned, it's time to tackle the utensil clutter that's been piling up in your drawers. It's crucial to optimize your drawer storage zones to guarantee everything has its designated spot.
Here are three ways to organize your utensil clutter:
-
Tool Tray: Use a tool tray or a utensil holder to store frequently used items like spatulas, whisks, and tongs. This will keep them within easy reach and prevent them from getting jumbled up with other items.
-
Divide and Conquer: Divide your drawer into sections using dividers or inserts. This will help you allocate specific spaces for different types of utensils, such as baking tools, cooking utensils, and serving spoons.
-
Store Less-Used Items: Store less-used items, like special occasion utensils or gadgets, in a separate drawer or on a high shelf. This will free up space in your main utensil drawer and reduce clutter.
Maximize Deep Drawer Space
You've tackled the utensil clutter, now it's time to optimize your drawer storage zones by maximizing the deep drawer space that often gets underutilized. This is where you can store less frequently used items like special occasion dishes, cookbooks, or infrequently used kitchen gadgets.
To make the most of this space, consider installing deep shelves or adjustable shelves that can be customized to fit your specific needs.
Another game-changer is using drawer dividers to separate items into categories. This will prevent a jumbled mess from forming and make it easier to find what you need quickly. For example, you can have one section for baking supplies, another for cooking utensils, and a third for storage containers.
When choosing dividers, opt for adjustable or removable ones to guarantee flexibility as your storage needs change. By implementing these simple hacks, you'll be amazed at how much more efficient and organized your kitchen becomes.
Frequently Asked Questions
Can I Use DIY Hacks if I'm a Renter With Limited Permission to Alter the Space?
As a renter, you're limited by restrictions, but don't worry! You can still use DIY hacks with temporary solutions that don't damage the space, like removable shelves, adhesive hooks, or multi-functional furniture that maximize storage without making permanent changes.
How Do I Organize Kitchen Items That I Don't Use Frequently but Can't Discard?
Imagine a treasure chest overflowing with Infrequent Appliances and Seasonal Containers, waiting to be unearthed. You're the curator, tasked with taming the chaos. Designate a "less-loved" zone, and store these items in labeled bins, freeing up prime real estate for your daily essentials.
Are DIY Kitchen Storage Hacks Suitable for Small Kitchen Spaces?
You'll be relieved to know that DIY kitchen storage hacks are perfect for small kitchen spaces, as they focus on space optimization and corner utilization, helping you maximize every inch of your kitchen.
Can I Use IKEA Products to Create Custom Kitchen Storage Solutions?
You can totally use IKEA products to create custom kitchen storage solutions! Try IKEA hacks, like creative repurposing of shelves or cabinets, to maximize your space and create a tailored look that suits your needs.
How Do I Keep My DIY Kitchen Storage Solutions Looking Tidy and Organized?
Did you know 75% of homeowners wish they had more kitchen storage? To keep your DIY solutions looking tidy, you'll create a labeling system and establish maintenance routines, ensuring everything has a designated spot and gets regular cleaning.
Related Posts
-

Top-Rated Dish Drainers for Kitchen Use
Top-rated dish drainers enhance your kitchen's efficiency and aesthetics. You'll find compact designs that save preci...
-

Sliding Pantry Organizers With Tiered Racks
Sliding pantry organizers with tiered racks optimize your pantry space and enhance accessibility. These organizers cr...
-

Stackable Kitchen Containers for Dry Goods
Stackable kitchen containers are perfect for organizing dry goods and maximizing your kitchen space. They help reduce...


