DIY Floating Shelves: Revamp Your Kitchen Now
Share
Elevate your kitchen's style with DIY floating shelves, a simple yet impactful way to revitalize the space. These shelves offer a unique design inspiration, creating a sense of openness and airiness while adding warmth and visual interest. To get started, gather materials like wood, brackets, and sandpaper, and prep with essential tools like a sawzall and level. With a step-by-step installation guide, you'll be able to securely attach your shelves and finish them with a stain or paint that complements your kitchen's design. Discover how to achieve a flawless look with styling tips and expert advice.
Key Takeaways
• Create unique and airy kitchen spaces with DIY floating shelves that add warmth and visual interest to your kitchen design.
• Choose the right wood and staining materials to match your kitchen style and add a personal touch to your floating shelves.
• Ensure sturdy and secure floating shelves by using heavy-duty metal brackets and following proper installation and alignment techniques.
• Add a pop of color and style to your kitchen with decorative items and balancing visual weight on your floating shelves.
• Complete the look with finishing touches, such as addressing hanging wires, to achieve a sleek and fabulous kitchen revamp.
Floating Shelves Benefits Uncovered
What inspired the decision to opt for DIY floating shelves, and what benefits do they bring to a kitchen design?
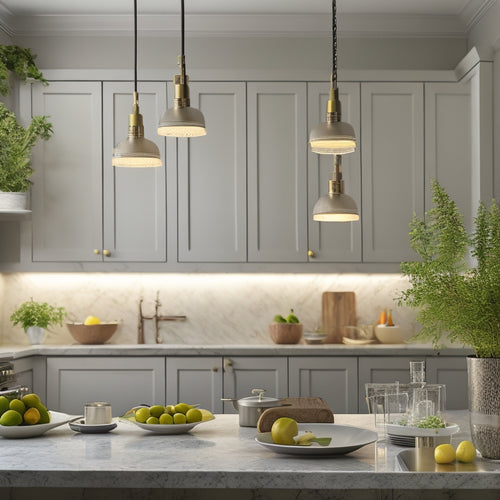
The advantages of floating shelves lie in their ability to provide a unique design inspiration, breaking up the monotony of traditional cabinetry. By forgoing upper cabinets, the kitchen gains a sense of openness and airiness, perfect for smaller spaces.
The lack of need for extra storage due to ample existing storage also played a role in this decision. An Instagram poll further solidified the choice, with the majority favoring floating shelves over upper cabinets.
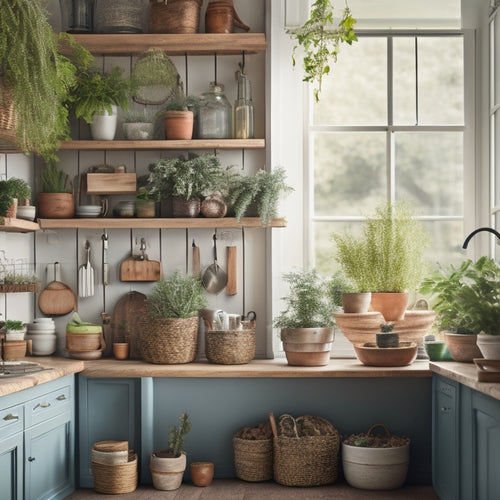
Ultimately, the floating shelves provide a focal point in the kitchen, adding warmth and visual interest to the space.
Gathering Materials and Prep
Choosing the appropriate materials and preparing them properly is a vital step in creating functional and aesthetically pleasing DIY floating shelves that complement your kitchen design. To guarantee a successful project, you'll need to gather the necessary materials and prepare them accordingly.
Here are the essential materials you'll need:
-
Wood of your choice: Choosing the right wood, such as solid ash wood scrap pieces, is essential for achieving the desired look and durability.
-
Staining materials: Depending on the finish you desire, you may need to stain your wood using various staining techniques.
-
Heavy-duty metal brackets: These will provide the necessary strength to hold your shelves in place.
- Sandpaper and cutting tools: These will be useful for sanding and cutting your wood to the required sizes.
Essential Tools for the Job
With your materials prepared, the next step is to gather the necessary tools to bring your DIY floating shelves to life. Tool selection is essential for a successful project. You'll need a sawzall, level, pencil, and drill to get started.
A drill guide, scrap wood, and shop vac can be useful for drilling holes accurately and efficiently. For wall preparation, a drywall knife or box cutter will come in handy for cutting drywall. Don't forget a level to make sure your shelves are properly aligned.
Paddle bits and extenders will help you drill precise holes in the wood. By having the right tools, you'll be well-equipped to tackle the installation process safely and confidently.
Step-by-Step Installation Guide
Once you've gathered the necessary tools, it's time to begin the installation process by placing the metal brackets on the wall, carefully drawing lines to mark their position, and cutting away the drywall to create a recessed area for a sleek, built-in look.
-
Confirm proper spacing guidance by measuring the distance between brackets to achieve a sturdy and balanced shelf.
-
Follow mounting suggestions by attaching brackets securely to exposed studs for maximum support.
-
Consider finishing alternatives such as staining or painting the wood to match your kitchen's aesthetic.
- Don't forget to select color options that complement your kitchen's design, ensuring a cohesive look.
Final Touches and Styling
As the installation nears completion, focusing on the finer details that will elevate your DIY floating shelves from functional to fabulous is essential. This is where styling tips and finishing touches come into play. Consider your decor options and color schemes to make sure a cohesive look.
Add a pop of color with decorative vases, cookbooks, or kitchen gadgets. Balance the visual weight of your shelves by mixing large and small items. Don't forget to address any hanging wires from undermount lighting to maintain a sleek appearance.
Frequently Asked Questions
Can I Use MDF or Plywood Instead of Solid Wood for Floating Shelves?
When selecting material options for floating shelves, consider MDF or plywood as cost-effective alternatives to solid wood, weighing durability and aesthetics; however, solid wood remains the preferred choice for its natural beauty and superior durability.
How Do I Ensure the Shelves Are Level and Plumb During Installation?
'A picture is worth a thousand words,' and a level shelf is worth a thousand worries. Guarantee stability by employing precise leveling techniques and a plumb line during installation, addressing stability concerns to achieve a secure and visually appealing outcome.
Are Floating Shelves Suitable for Heavy Kitchen Appliances and Cookware?
Floating shelves can support heavy kitchen appliances and cookware if designed with weight distribution and durability in mind, offering stylish storage and functionality while ensuring safety through sturdy metal brackets and secure installation.
Can I Install Floating Shelves on a Plaster or Concrete Wall?
When installing floating shelves on plaster or concrete walls, confirm wall compatibility by using anchors or molly bolts for secure fastening, and consider weight capacity and maintenance advice to guarantee a safe and sturdy installation.
How Do I Clean and Maintain the Floating Shelves to Prevent Damage?
'A million dust particles can settle on your floating shelves, but with regular cleaning and maintenance hacks, you can prevent damage and keep them looking brand new! Use gentle cleaning products, soft cloths, and avoid harsh chemicals to guarantee shelf care and longevity.'
Related Posts
-

Tips for Choosing Under-Cabinet Lighting Fixtures
When choosing under-cabinet lighting fixtures, consider your kitchen's layout and functionality. Assess countertop ma...
-

Tiered Kitchen Rack Ideas for Small Spaces
Tiered kitchen racks are perfect for maximizing small spaces while adding style and functionality. Install wall-mount...
-

Countertop Storage Ideas for Small Kitchens
If you're looking to maximize your small kitchen, creative countertop storage solutions can make a big difference. Em...


