Create Stylish Kitchen Shelves on a Budget
Share
I'm excited to embark on a DIY journey to create stylish kitchen shelves on a budget! To get started, I'll gather necessary supplies like 110 planks and metal shelf brackets, choosing affordable materials to stay within my budget. Next, I'll pick and cut wood boards to size, focusing on accuracy and craftsmanship. After putting together and securing the shelves, I'll enhance them with colorful ceramics, vintage cookbooks, and thrift store discoveries. With a touch of imagination, I'll design a visually appealing arrangement that highlights my kitchen style. Now, let's get innovative and see how my shelves come together!
Key Takeaways
• Opt for cost-effective 110 boards and customize with metal shelf brackets for a unique kitchen style on a budget.
• Select premium, framing, or plywood boards, considering factors like straightness and defects, to ensure a flawless finish.
• Assemble shelves with even spacing and sturdy attachment using wood screws, and attach brackets securely to the wall with a level hand.
• Add a personal touch with budget-friendly decor, such as thrift store finds and DIY accents, and group similar items for a cohesive look.
• Create visually appealing displays with varied shelf heights, achieving a rustic charm with a stylish and functional kitchen storage system.
Prepare Your DIY Project
As I kick off this DIY kitchen shelving project, I gather my essential supplies, including three 110 boards, six metal shelf brackets, and a variety of screws, to make sure I've everything I need to bring my stylish and budget-friendly vision to life.
I'm on a mission to create a kitchen that exudes sophistication without breaking the bank. That's why I'm opting for budget-friendly alternatives like 110 boards, which offer a cost-effective solution without compromising on quality.
With customization options like metal shelf brackets, I can tailor my shelves to fit my unique kitchen style. By having all the necessary materials at hand, I can focus on bringing my creative vision to life, and that's exactly what I'm excited to do.
Choose and Cut Wood Boards
With my supplies in hand, I head to the lumber section to select the perfect wood boards for my kitchen shelves, carefully scanning the rows of premium, framing, and plywood options to find the ones that fit my style and budget.
I examine each board, searching for straightness and freedom from defects. Premium boards offer a smoother finish, while framing lumber provides sturdiness at a lower cost.
Once I've made my selections, I cut the boards to size, taking safety precautions and following guidelines to avoid accidents. I'll sand and finish the boards later, but for now, I'm focused on precision cutting to make sure a flawless fit for my shelves.
Assemble and Attach Shelves
I carefully position the stained boards onto the shelf brackets, ensuring each one is centered and securely attached from underneath with the appropriate wood screws. I take my time, making sure the boards are evenly spaced and the brackets are sturdy enough to hold the weight of my kitchen essentials.
When it comes to shelf placement, I consider the overall aesthetic I want to achieve - symmetrical, asymmetrical, or a mix of both. Bracket options are endless, from sleek metal to rustic wooden ones. I choose heavy-duty metal brackets that can support the weight of my dishes and cookbooks.
With a level and a steady hand, I attach the brackets to the wall, ensuring they're secure and level. Now, my kitchen shelves are taking shape, and I can't wait to style them with my favorite kitchenware.
Add Style to Your Shelves
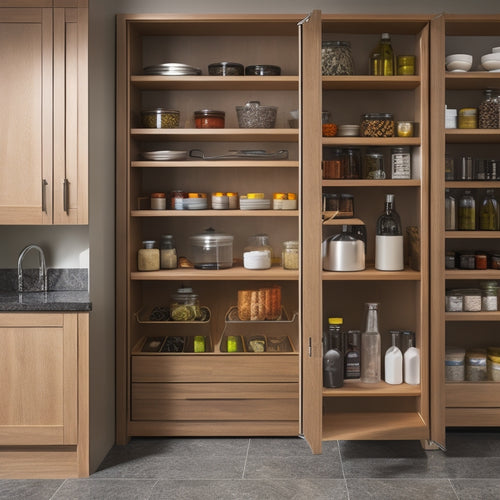
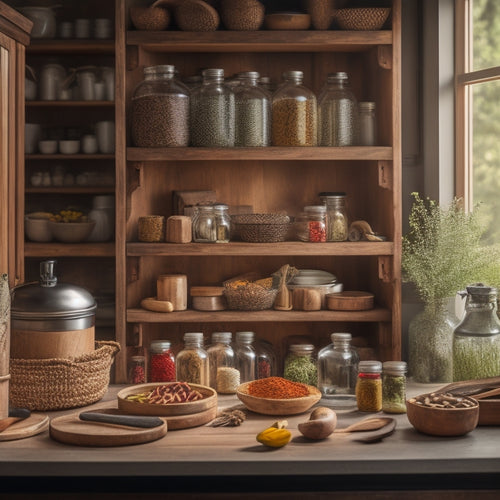
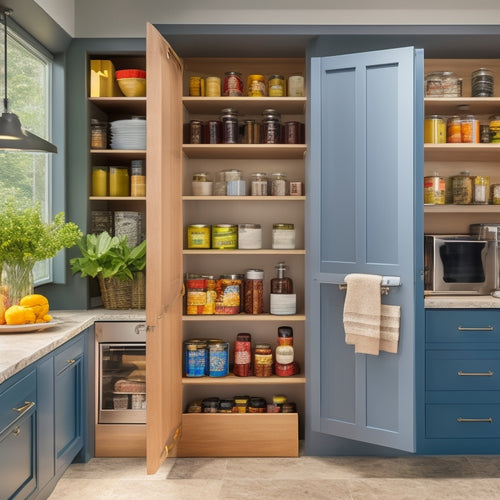
Now that my shelves are securely in place, it's time to add the finishing touches - colorful ceramics, vintage cookbooks, and eclectic kitchen gadgets - to create a visually appealing display that reflects my personal style.
I'm excited to immerse myself in shelf styling, where every item is carefully curated to tell a story.
To achieve a budget-friendly decor, I'll opt for thrift store finds, repurposed containers, and DIY decorative accents. By grouping similar items together and balancing textures, I'll create a cohesive look that's both stylish and functional.
I'll also leave some space between items to avoid clutter and maintain a sense of airiness. With a little creativity, my open kitchen shelves will become a stunning focal point that showcases my personality and flair.
Final Touches and Installation
Six sturdy shelf brackets await their wooden counterparts, ready to be transformed into a stylish kitchen storage system that exudes a sense of rustic charm. I carefully place the stained boards onto the brackets, ensuring each one is centered and securely attached from underneath.
With all the shelves in place, I step back to admire my handiwork, thrilled with the result. To add some visual interest, I vary the shelf heights, creating a visually appealing shelf organization system. The open shelves not only provide ample storage but also double as wall decor, adding a touch of rustic elegance to my kitchen.
With the final touches complete, I'm left with a beautiful, functional, and budget-friendly kitchen storage solution that I can't wait to style with my favorite dishes and cookbooks.
Frequently Asked Questions
Can I Use Reclaimed Wood for My Kitchen Shelves?
"I'm drawn to the 97% of consumers who value sustainability; reclaimed wood's durability makes it perfect for kitchen shelves, offering unique design options like distressed finishes and natural imperfections that add character to my space."
How Do I Prevent My Shelves From Sagging Over Time?
"To prevent sagging, I reinforce my shelves with extra support brackets or thicker wood, ensuring a sturdy base; I also opt for durable materials like solid wood or metal, and follow longevity tips to extend their lifespan."
Are Metal Shelf Brackets Necessary for Heavy Loads?
As I navigate the weighty world of shelves, I ponder: are metal shelf brackets really necessary for heavy loads? I find solace in alternative materials, like wooden corbels, which distribute weight evenly, offering a cost-effective, shelf-reinforcing solution that's both strong and stylish.
Can I Attach Shelves to Plaster or Drywall?
I use a stud finder to locate solid anchors for my shelves, ensuring weight limits aren't exceeded. For plaster or drywall, I opt for anchor screws, carefully spacing shelves to distribute weight evenly, guaranteeing a sturdy and stylish installation.
Do I Need to Add a Back Panel to My Kitchen Shelves?
When building my shelves, I wonder if a back panel is necessary; while it adds a finished look, I can opt for decorative trim or a wallpaper accent instead, saving money and adding visual interest.
Related Posts
-

Space-Saving Lazy Susan Cabinet Solutions
Space-saving Lazy Susan cabinet solutions can change those awkward corner spaces into organized storage wonders. You'...
-

Revolving Cabinet Organizer Lazy Susan
A revolving cabinet organizer like a Lazy Susan is a transformative solution for your kitchen. It maximizes space and...
-

Affordable Sliding Pantry Drawer Solutions
If you're looking for affordable sliding pantry drawer solutions, you're in the right place. These drawers maximize s...


