Budget-Friendly Kitchen Storage Hacks You Can DIY
Share
You can breathe new life into your kitchen by repurposing old items, like vintage utensils and memorabilia, into unique storage solutions. Maximize corner space efficiency with DIY shelving units, and optimize angle spaces with strategic shelving and carousels. Create a functional and stylish kitchen on a budget by repurposing crates and boxes into floating shelves. And, utilize vertical wall space with decorative brackets and shelves. From transforming dead zones to functional storage areas, to creating a pegboard station, there are countless budget-friendly hacks to discover - and you're just getting started on your kitchen makeover journey.
Key Takeaways
• Repurpose old kitchen items, like vintage utensils and memorabilia, to create unique storage solutions and add personality to your space.
• Maximize corner space efficiency with DIY shelving units, carousels, and baskets that fit snugly and provide easy access to items.
• Utilize vertical wall space by installing shelves, hooks, and wall decals to create functional and visually appealing storage areas.
• Transform dead zones into functional storage areas using rotating shelves, turntables, and Lazy Susans for easy access to spices, oils, and condiments.
• Upcycle old crates, boxes, and bookshelves to create rustic floating shelves and adjustable storage units on a budget.
Repurposing Old Kitchen Items
Turn old kitchen items into functional storage solutions by thinking outside the box and giving them a new purpose.
You can breathe new life into vintage utensils and kitchen memorabilia, making them useful again. For instance, use an old tea infuser to store small items like paper clips or beads.
You can also transform a vintage wooden spoon rest into a handy desk organizer for pens and pencils.
Get creative with your grandmothers' old kitchen gadgets, like a retro eggbeater or a manual can opener. Clean and refurbish them to use as unique storage containers.
You can even attach a small magnet to the bottom of an old metal utensil and use it to hold notes or reminders on your fridge.
By repurposing these items, you'll not only declutter your kitchen but also add a touch of nostalgia and personality to your space.
Maximize Corner Space Efficiency
Now that you've tackled repurposing old kitchen items, it's time to turn your attention to those pesky kitchen corners. You'll be surprised at how much more efficient your kitchen can be when you maximize this often-wasted space.
Corner Shelving Units
By installing a corner shelving unit, you can reveal the hidden potential of your kitchen's most underutilized areas, maximizing space efficiency and keeping essentials within easy reach. This DIY project is a game-changer for kitchen organization, and it's easier than you think!
Here are some key considerations to keep in mind:
-
Measure twice, install once: Guarantee your corner shelving unit fits snugly in the available space, taking into account any obstructions like pipes or electrical outlets.
-
Choose the right shelving angles: Opt for shelves with adjustable angles to accommodate items of varying sizes and shapes.
-
Add corner decor: Incorporate decorative trim or molding to conceal any gaps between the shelves and the wall, creating a seamless look.
- Keep it accessible: Position your corner shelving unit at a comfortable height to reduce straining and make it easy to grab what you need.
Optimize Angle Space
Take advantage of the often-wasted space between your kitchen walls and countertops by strategically placing shelves, baskets, or carousels to optimize the angle space. These areas, often considered dead zones, can be transformed into functional storage areas with the right angular solutions.
You can install a carousel in the corner to store spices, oils, or condiments, making them easily accessible while cooking. Alternatively, place a shelf or basket to store infrequently used kitchen gadgets or cookbooks. This won't only declutter your countertops but also keep your kitchen organized and efficient.
When selecting an angular solution, consider the height and width of the space, as well as the items you want to store. Measure the area carefully to secure a snug fit. You can also repurpose an old ladder or crate to create a unique storage solution.
Rotate for Access
Incorporate rotating shelves or turntables into your kitchen's corner spaces to effortlessly access items that would otherwise be trapped in hard-to-reach areas. This clever hack is perfect for maximizing corner space efficiency. By installing a Lazy Susan or spinning shelves, you'll be able to reach those pesky items that always seem to get stuck in the back of the cabinet.
Here are some ideas to get you started:
-
Turntable for spices: Install a small turntable in your cabinet to store spices, oils, or condiments. This way, you can easily access the ones in the back without having to dig through the entire shelf.
-
Spinning shelves for snacks: Add spinning shelves to your pantry to store snacks, canned goods, or baking supplies. This will make it easy to find what you need without having to rummage through the entire pantry.
-
Lazy Susan for cleaning supplies: Use a Lazy Susan in your under-sink cabinet to store cleaning supplies, such as sponges, scrubbers, and detergents. This will keep them organized and within easy reach.
- Rotating basket for fruits: Add a rotating basket to your countertop to store fruits, vegetables, or bread. This will keep them fresh and easily accessible.
DIY Shelving on a Budget
You can create functional and stylish shelving on a shoestring budget by repurposing items you already own or scoring affordable materials from local thrift stores or online marketplaces.
For instance, consider upcycling old crates or wooden boxes to create unique floating shelves that add a touch of rustic charm to your kitchen.
You can also repurpose old bookshelves or ladder shelves to create adjustable storage units that can be easily rearranged to fit your changing needs.
To take your DIY shelving project to the next level, invest in adjustable brackets that can be easily attached to your walls. These brackets allow you to customize the height and spacing of your shelves, ensuring that you can maximize your storage space without compromising on style. Plus, they're easy to install and require minimal tools, making them a great option for DIY beginners.
With a little creativity and some elbow grease, you can create functional and stylish shelving that complements your kitchen's unique aesthetic – all on a budget that won't break the bank!
Utilize Vertical Wall Space
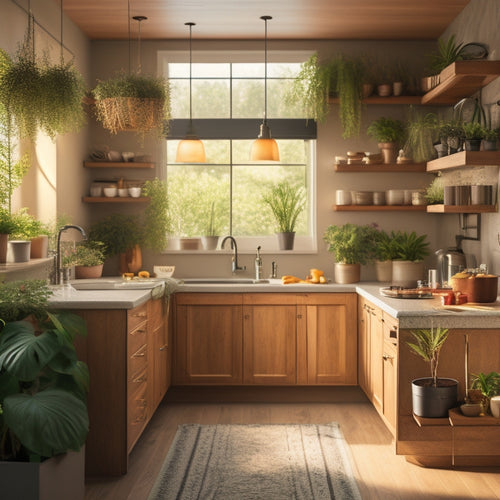
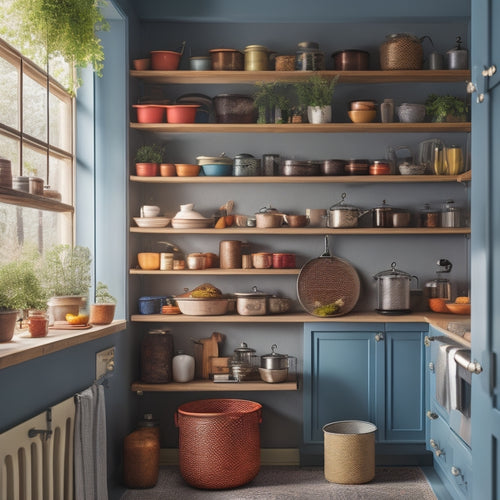
Maximize your kitchen's storage potential by capitalizing on the often-overlooked vertical wall space, where a few well-placed shelves or hooks can make a significant difference in decluttering your countertops. By utilizing this space, you'll create a more organized and functional kitchen that's perfect for serving others.
Here are some creative ways to utilize your kitchen's vertical wall space:
-
Install shelves with decorative brackets to add a touch of elegance while storing cookbooks, dinnerware, or infrequently used kitchen gadgets.
-
Add hooks for hanging pots, pans, utensils, or even a kitchen towel, keeping them within easy reach.
-
Use wall decals to create a visually appealing and functional space, such as a measurement conversion chart or a calendar.
- Line your shelves with shelf liners to protect your kitchen items from dust and make cleaning a breeze.
Create a Pegboard Station
Transform a blank wall into a hub of productivity by creating a pegboard station that corrals kitchen essentials and frees up counter space. With a pegboard station, you'll be able to hang frequently used items like pots, pans, utensils, and spices, keeping them within easy reach while cooking. This DIY project is a game-changer for small kitchens, as it maximizes storage capacity without taking up valuable floor space.
To create your pegboard station, start by selecting a pegboard that fits your wall space. You can customize it with hooks, bins, and shelves to suit your specific needs. Consider the ergonomics of your station, placing frequently used items at eye level and less-used items towards the top or bottom.
Here's a sample layout to get you started:
| Zone | Items | Pegboard Accessories |
|---|---|---|
| Cooking | Pots, pans, utensils | Hooks, bins |
| Baking | Spices, baking sheets | Shelves, bins |
| Prep | Colander, cutting boards | Hooks, shelves |
| Storage | Infrequently used items | Bins, shelves |
Get creative with your pegboard customization, and you'll be enjoying a more organized, efficient kitchen in no time!
Upcycle Glass Jars for Storage
Now that you've got your hands on some glass jars, it's time to turn them into functional storage containers.
You'll want to start by labeling them in a way that's both decorative and informative, so you can quickly identify what's inside.
From there, you can explore airtight storage options to keep your kitchen staples fresh and organized.
Jar Labeling Ideas
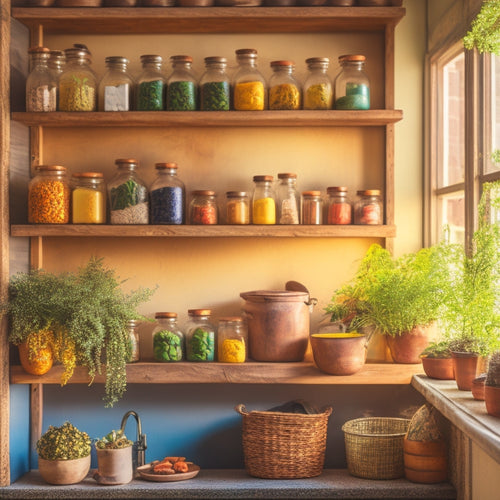
Use glass jars you've saved from your favorite pasta sauces or jams to store dry goods like flour, sugar, or coffee beans. Take it a step further by labeling them with a personal touch. This won't only make your kitchen look organized but also help you quickly identify what's inside each jar.
Here are some creative labeling ideas to get you started:
-
Chalkboard Labels: Write the contents of each jar on a chalkboard label using a white chalk marker. This is a great option if you tend to switch up the contents of your jars frequently.
-
Color Coding: Use different colored labels or stickers to categorize your jars by type (e.g., baking supplies, coffee, or spices). This visual system makes it easy to find what you need at a glance.
-
Hand-Drawn Art: Add some personality to your jars with hand-drawn illustrations or doodles. You can also include a cute icon or emoji to make the label more fun.
- Typographic Labels: Create your own labels using a computer and printer, and customize the font and design to fit your kitchen's style.
These labeling ideas will add a personal touch to your upcycled glass jars and make your kitchen storage more functional and fun.
Airtight Storage Options
You can take your upcycled glass jars to the next level by converting them into airtight storage containers that keep your dry goods fresh and your kitchen organized. By adding airtight lids, you can turn your jars into Food Savers that preserve the freshness of your food.
Look for lids specifically designed for canning or Mason jars, which provide a tight seal to keep air out. You can also use silicone seals or even plastic wrap to create a makeshift airtight seal.
With your airtight jars, you can store everything from coffee beans to spices to baked goods. They're perfect for keeping your pantry organized and your food fresh. Plus, they're easy to clean and reuse, making them a sustainable storage solution.
As Fresh Keepers, your airtight jars will help you reduce food waste and save you money in the long run. So get creative and start upcycling those glass jars into airtight storage containers that will keep your kitchen running smoothly!
Build a Kitchen Cart Station
Create a mobile workstation by repurposing an old cart or building one from scratch to maximize your kitchen's storage potential. This cart station will become your new go-to spot for food preparation, cooking, and entertaining. With the right design and features, you'll be able to move it around the kitchen to suit your needs.
Here's what you'll need to get started:
-
Cart Wheels: Choose wheels that can support the weight of your cart and its contents. You'll want to make sure they're sturdy and can move smoothly across different floor types.
-
Station Lighting: Add some task lighting to your cart to illuminate your workspace. This could be in the form of under-cabinet lighting, a pendant light, or even a portable lamp.
-
Countertop Space: Design your cart with a spacious countertop to accommodate your cooking essentials, such as a cutting board, utensils, and appliances.
- Storage Compartments: Incorporate drawers, shelves, or cabinets to store your kitchen gadgets, ingredients, and cookbooks. This will keep your workspace organized and clutter-free.
Increase Cabinet Storage Capacity
Your kitchen cabinets hold a wealth of untapped storage potential, and with a few strategic tweaks, you can unlock their full capacity.
By optimizing the interior space, you'll be amazed at how much more you can fit. Start by installing cabinet dividers to separate items and prevent clutter from building up. These dividers can be as simple as wooden or plastic inserts or as elaborate as custom-built partitions.
Next, consider adding adjustable shelves to maximize vertical storage. This will allow you to customize the space to fit your specific needs, whether that's storing tall appliances or numerous spice jars.
Another clever trick is to use the back of cabinet doors for additional storage. You can attach adhesive hooks, baskets, or even a pegboard to hang items like utensils, pots, or cleaning supplies.
With these DIY hacks, you'll be able to fit more into your cabinets, keeping your kitchen organized and clutter-free.
Make a Window Seat Storage
Now that your cabinets are optimized, turn your attention to that often-wasted space beneath your kitchen window, where a cleverly designed window seat can provide a surprising amount of storage. You can create a cozy nook with a window seat that not only adds comfort but also hides valuable storage space.
Here's a rough outline to get you started:
-
Measure and build the seat: Calculate the space beneath your window and build a seat with a hinged top to access the storage area.
-
Add cozy cushions: Upholster the seat with plush cushions that match your kitchen decor, making it a comfortable spot to relax.
-
Incorporate hidden compartments: Design the seat with hidden compartments, such as drawers or shelves, to store items like cookbooks, linens, or kitchen gadgets.
- Finishing touches: Add a few decorative pillows, a side table, or a plant to complete the look and make the space inviting.
With a little creativity, you can transform this often-neglected area into a functional and cozy spot that serves as a hub for kitchen activities while keeping clutter at bay.
Frequently Asked Questions
Can I Use MDF Boards for DIY Shelving Instead of Plywood?
You can use MDF boards for DIY shelving, but consider the benefits (affordability, smooth finish) and drawbacks (prone to water damage, heavy). If you're okay with the trade-offs, MDF can be a decent alternative to plywood for your project.
How Do I Prevent DIY Storage Solutions From Looking Cluttered?
"Did you know 72% of people feel anxious in cluttered spaces? To prevent DIY storage solutions from looking cluttered, you'll create a Visual Hierarchy by grouping similar items and applying Editing Essentials, like limiting colors and textures, to achieve a harmonious look."
Are There Any DIY Storage Hacks for Renters With Limited Permissions?
You're a renter with limited permissions, but that doesn't mean you can't get creative! Opt for rent-friendly decor, like adhesive shelves that won't damage walls, and repurpose items like baskets and crates to maximize storage without breaking the rules.
Can I Use IKEA Components to Build a Custom Kitchen Cart?
"You're a renter with limited permissions, but a DIY enthusiast at heart! You can still create a custom kitchen cart using Ikea components, exploring Ikea hacks for endless customization options that fit your style and needs."
How Do I Ensure DIY Storage Solutions Are Sturdy and Long-Lasting?
When constructing DIY storage solutions, you'll want to guarantee they're sturdy and long-lasting by considering weight distribution and material selection.
Related Posts
-

Space-Saving Kitchen Island Storage Hacks
You can change your small kitchen into a functional haven with clever space-saving island storage hacks. Start by ins...
-

Best Vertical Storage Solutions for Small Kitchens
In a small kitchen, vertical storage solutions are your secret weapon to maximize every inch of space and keep your c...
-

Wall Racks for Storing Kitchen Herbs and Spices
Wall racks for storing kitchen herbs and spices are a revolutionary advancement for maximizing your kitchen space. Th...


