Boost Kitchen Storage With DIY Shelving Solutions
Share
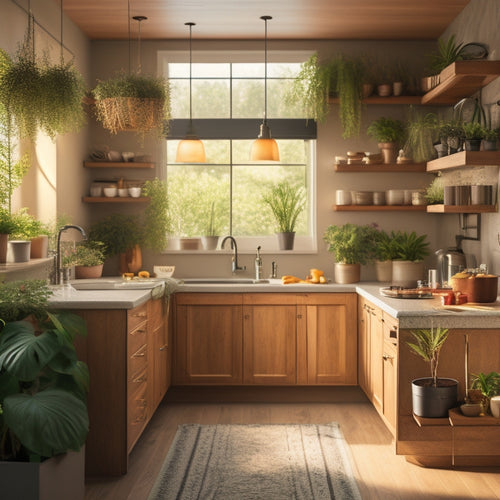
By embracing DIY shelving solutions, you can revolutionize your kitchen's storage capacity and aesthetic appeal. Repurpose old furniture pieces, like dressers or ladders, into functional shelving units. Maximize vertical wall space with wall-mounted spice racks, pegboards, and floating shelves. Don't forget to capitalize on often-wasted corner areas with custom inserts and carousels. With a little creativity and elbow grease, you can create a kitchen that's both beautiful and functional. As you explore these DIY solutions, you'll discover even more clever ways to harness your kitchen's full potential.
Key Takeaways
• Repurpose old furniture pieces, like dressers and bookshelves, into functional kitchen storage units with a fresh coat of paint or new hardware.
• Utilize vertical wall space by installing wall-mounted spice racks, pegboards, and floating shelves to keep frequently used items within easy reach.
• Create customized cabinet inserts with slide-out baskets and tiered shelves to maximize storage capacity and optimize kitchen workflow.
• Design open shelving units that blend with the kitchen's style and functionality, considering items to be displayed and adding decorative trim for elegance.
• Install adjustable shelf brackets that prioritize durability and weight support, ensuring a visually appealing and functional storage system.
Repurposing Old Furniture Pieces
Transform an old dresser into a one-of-a-kind shelving unit by removing the drawers and attaching wooden planks or crates to create a unique storage space. This furniture flipping technique not only gives new life to an old piece but also adds a touch of upcycled decor to your kitchen. You can refinish or paint the dresser to match your kitchen's aesthetic, making it a functional and stylish addition.
Think beyond traditional shelving units and get creative with other old furniture pieces. An old bookshelf can become a spice rack or a utensil organizer. Even an old ladder can be repurposed as a storage unit for pots, pans, or cookbooks. The possibilities are endless, and the best part is that you're reducing waste and giving old items a new purpose.
Utilizing Vertical Wall Space
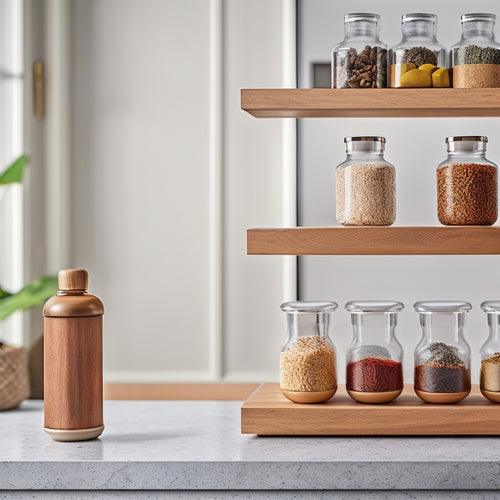
Maximize your kitchen's storage potential by capitalizing on the often-wasted vertical wall space, where you can install floating shelves, hooks, or a pegboard to keep frequently used items within easy reach. By utilizing this space, you'll create a more organized and efficient kitchen that makes meal prep a breeze.
Here are three ways to make the most of your kitchen's vertical wall space:
-
Install wall-mounted spice racks to keep your favorite seasonings within arm's reach, freeing up valuable counter space.
-
Use wall anchors to secure hooks for hanging pots, pans, and utensils, keeping them organized and out of the way.
-
Add a pegboard to hang frequently used items like oven mitts, aprons, and kitchen gadgets, making them easily accessible when you need them.
Building Floating Shelves Easily
Building floating shelves is a DIY project that requires minimal expertise, and with the right materials and tools, you can create a sleek and functional storage solution that adds a touch of modernity to your kitchen. To get started, you'll need to choose the right shelf materials that fit your kitchen style and design. Here's a breakdown of popular shelf materials and their characteristics:
| Shelf Materials | Characteristics |
|---|---|
| Wood (e.g., oak, pine) | Warm, natural look; can be stained or painted |
| MDF | Affordable, smooth finish; ideal for a modern look |
| Glass | Sleek, modern; adds a touch of sophistication |
When it comes to shelf design, consider the size, shape, and thickness of your shelves. You can opt for a simple, rectangular design or get creative with curved or angled shelves. Keep in mind the weight capacity you need, especially if you plan to store heavy kitchenware. With the right materials and design, you can create floating shelves that not only add storage but also elevate your kitchen's aesthetic appeal.
Maximizing Corner Storage Areas
When you're designing your DIY shelving solutions, don't forget to tackle those tricky corner areas where clutter tends to accumulate.
You'll be surprised at how much storage space you can squeeze out of these often-wasted zones with the right corner shelving options.
Corner Shelving Options
You can maximize the full potential of your room's corner spaces by installing clever corner shelving solutions that make the most of these often-wasted areas. By doing so, you'll not only increase storage capacity but also create a more organized and visually appealing space.
Here are three corner shelving options worth exploring:
-
Corner Carousels: These rotating shelves allow easy access to items stored in the corner, making it a great solution for frequently used kitchen utensils or cleaning supplies.
-
Hidden Compartments: Create a secret storage space behind a decorative panel or sliding door, perfect for storing valuable or sensitive items.
-
Adjustable Corner Shelves: These shelves can be customized to fit different sizes of containers or items, providing flexibility and adaptability to your storage needs.
Optimizing Dead Space
By strategically placing shelves, baskets, or hooks in those often-overlooked corner areas, you can turn dead space into functional storage zones that make a real difference in your daily routine. Think about it - those hidden nooks and secret compartments can hold a lot more than you think. With a little creativity, you can transform them into convenient storage spots for infrequently used items, like special occasion dishes or cooking gadgets.
Consider installing a lazy Susan in a corner cabinet to make the most of the space. You can also add a shelf or a basket to store items like spices, oils, or snacks.
For a more personalized touch, you can add a decorative hook to hang your favorite kitchen utensils or a small shelf for your cookbooks. By optimizing these dead spaces, you'll not only free up more room in your kitchen but also create a more organized and efficient cooking environment.
Creating Customized Cabinet Inserts
When creating customized cabinet inserts, you'll want to focus on maximizing storage space by carefully measuring your cabinet's dimensions and designing inserts that fit snugly.
By optimizing your cabinet's layout, you'll be able to fit more items in a smaller space, making the most of your storage capacity.
As you design your inserts, consider how you can make access easy, so you can quickly grab what you need without having to rummage through clutter.
Maximize Storage Space
Customized cabinet inserts can triple your storage capacity, turning cluttered shelves into organized havens. By designing inserts that fit your specific needs, you'll be able to store more items in less space, making the most of your kitchen's real estate.
To maximize storage space, consider the following strategies:
-
Optimize vertical space: Install inserts that go all the way to the top of your cabinets, utilizing every inch of available space.
-
Use storage containers: Incorporate bins, baskets, or drawers within your inserts to keep similar items together and out of sight.
-
Implement space planning: Think about how you use your kitchen and design your inserts accordingly. For example, store frequently used items in easy-to-reach locations, and reserve higher or lower shelves for less frequently used items.
Optimize Cabinet Layout
You can transform your cabinets into highly functional storage hubs by evaluating your cabinet contents and identifying categories that cater to your specific kitchen needs and workflow. By tailoring the layout to your daily cooking routine, you'll increase efficiency and reduce clutter.
Start by evaluating your cabinet contents and identifying categories, such as baking supplies, cooking utensils, or dinnerware. Then, create customized inserts using cabinet dividers to separate these categories and keep similar items together.
Label each shelf with descriptive labels, making it easy to find what you need at a glance. Consider adding adjustable shelves or baskets to accommodate items of varying sizes. This thoughtful design will help maintain organization and make the most of your cabinet space.
With a well-organized cabinet layout, you'll be able to quickly locate the items you need, saving time and reducing frustration in the kitchen. By optimizing your cabinet layout, you'll create a more functional and peaceful cooking environment that serves you and your family well.
Design for Easy Access
By incorporating slide-out baskets, tiered shelves, or Lazy Susans into your cabinet design, accessibility to your stored items dramatically improves. This thoughtful planning enables you to create a more functional and efficient kitchen space.
When designing your cabinet inserts, consider the following key elements to guarantee easy access:
-
Ergonomic Placement: Position your inserts at a comfortable height to minimize bending or straining. This feature is especially important for frequently used items.
-
Visual Flow: Organize your inserts in a logical and visually appealing way. Group similar items together, and place the most frequently used items in easy-to-reach locations.
-
Streamlined Storage: Design your inserts to store items in a compact, yet accessible manner. This will help reduce clutter and make the most of your available storage space.
Installing Adjustable Shelf Brackets
With adjustable shelf brackets, precision is crucial, so take the time to mark the wall studs accurately before drilling pilot holes for the screws. This guarantees a secure installation and prevents the brackets from shifting over time.
When choosing adjustable shelf brackets, prioritize bracket durability to support the weight of your kitchen essentials. Look for brackets made from sturdy materials, such as metal or heavy-duty plastic, that can withstand the test of time.
To achieve shelf customization, select adjustable brackets that allow you to adjust the shelf height and depth to fit your specific storage needs. This flexibility enables you to create a tailored storage solution that maximizes your kitchen's available space.
When installing the brackets, follow the manufacturer's instructions and take your time to ensure a level and secure fit. With adjustable shelf brackets, you can create a functional and visually appealing storage system that meets your unique kitchen requirements.
Designing Open Shelving Units
Now that you've got your adjustable shelf brackets in place, it's time to contemplate designing an open shelving unit that showcases your kitchen style and keeps frequently used items within easy reach. You'll want to contemplate the overall aesthetic you're going for, as well as the functionality you need.
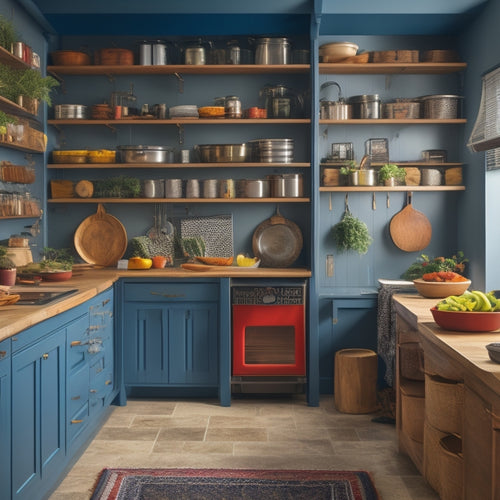
When it comes to shelf styling, contemplate the items you'll be displaying. Will you be showcasing decorative dishes, cookbooks, or plants? Choose a style that complements these items and adds visual interest to your kitchen.
Here are a few design elements to contemplate:
-
Decorative trim: Add a touch of elegance with decorative trim around the edges of your shelves or on the backing wall.
-
Shelf depth: Choose shelves with varying depths to create visual interest and accommodate items of different sizes.
-
Lighting: Contemplate adding under-shelf lighting to highlight your displayed items and create a warm ambiance.
Frequently Asked Questions
Can I Use DIY Shelving Solutions in a Rental Property?
Before installing DIY shelving solutions, you'll need to check your rental agreement for restrictions and obtain your landlord's approval to avoid any potential issues or penalties, ensuring a harmonious and organized living space.
Do I Need Professional Help for Complex Shelving Projects?
Like a master chef, you're about to whip up a complex shelving project, but don't overseason with DIY ambition - if you're unsure about structural integrity or need custom designs, it's wise to call in a professional pinch-hitter for backup.
How Do I Determine the Optimal Shelf Height for My Kitchen?
You'll want to determine the ideal shelf height by considering ergonomic standards, ensuring comfortable reach and access, while also achieving visual balance in your kitchen, so everything looks and feels harmonious.
Are DIY Shelving Solutions Cost-Effective Compared to Store-Bought?
You'll find DIY shelving solutions cost-effective when considering material options like reclaimed wood or MDF, and creating a budget breakdown that allocates funds to essential materials, tools, and labor, ensuring a functional and stylish storage solution that fits your budget.
Can I Use Reclaimed or Salvaged Materials for My DIY Shelves?
"You're probably thinking, 'reclaimed materials? Isn't that just a fancy way of saying 'junk'? But trust us, with some creative material sourcing, you can turn salvaged goods into unique, eco-friendly shelves that seamlessly integrate into your kitchen's aesthetic."
Related Posts
-

Modern Countertop Spice Organizer Designs
Modern countertop spice organizer designs enhance your kitchen's aesthetics while maximizing functionality. These spa...
-

Space-Saving Kitchen Island Storage Hacks
You can change your small kitchen into a functional haven with clever space-saving island storage hacks. Start by ins...
-

Over-The-Door Kitchen Storage for Large Families
Over-the-door kitchen storage is a transformative solution for large families. It maximizes vertical space, keeping y...


