7 Clever Ways to Repurpose Kitchen Cart Storage
Share
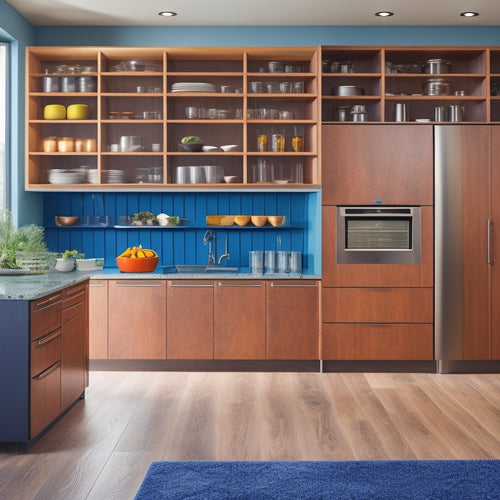
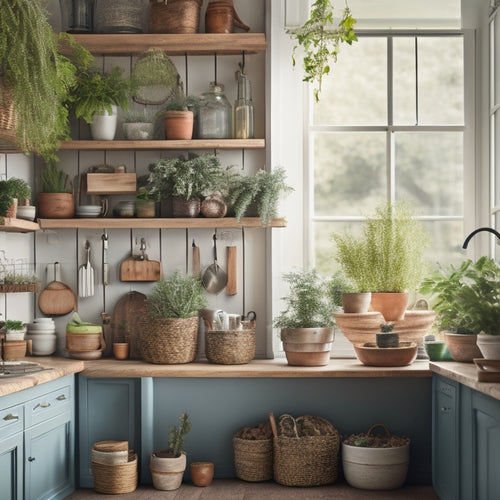
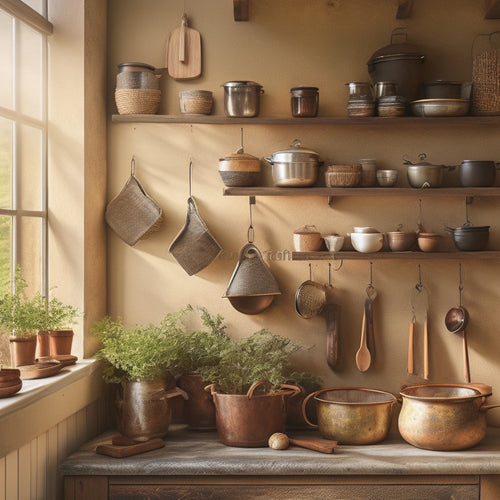
You're probably staring at your kitchen cart, wondering how to maximize its full storage potential. Why not turn it into a coffee bar, complete with cups and creamer within easy reach? Or, optimize that corner space with shelves and baskets for extra storage. You can even hide those unsightly trash and recycling bins behind a fancy facade. Need a mobile workspace? Convert your cart into a station with storage for pens, papers, and cords. Or, use it to store infrequently used kitchen items, freeing up valuable cabinet space. The possibilities are endless, and with a little creativity, you can harness your cart's true potential.
Key Takeaways
• Repurpose a kitchen cart into a functional coffee bar, mobile workspace station, or wine station to maximize its utility.
• Optimize corner space by configuring shelves for maximum storage and accessibility.
• Hide trash and recycling bins from view by concealing them behind decorative panels or disguising them as furniture.
• Utilize the cart's storage to organize infrequently used kitchen items, freeing up valuable space in cabinets and drawers.
• Build a custom spice rack on the cart to keep favorite seasonings within easy reach and maximize storage potential.
Turning Cart Into Coffee Bar
Transform your kitchen cart into a charming coffee bar by simply relocating it to a convenient spot and outfitting it with a coffee maker, mugs, and sweet treats. You'll love how this thoughtful setup makes your morning routine a breeze.
Imagine having everything you need to brew a fresh cup within arm's reach, creating a welcoming atmosphere for family and friends.
As you design your coffee station, consider the flow of your morning routine. Place the coffee maker at a comfortable height to avoid straining, and store mugs and creamers within easy reach. Add some decorative touches, like a vase with fresh flowers or a few favorite coffee-themed accessories, to create a cozy vibe.
This repurposed cart will become a hub of activity, where you can chat with loved ones while you sip your morning coffee. By turning your kitchen cart into a coffee bar, you'll be creating a warm and inviting space that sets the tone for a wonderful day ahead.
Maximizing Corner Space With Shelves
As you tackle the challenge of maximizing corner space with shelves, you'll want to contemplate the best configuration for your corner shelf.
You'll need to think strategically about where to place each shelf to guarantee easy access to your kitchen essentials.
Corner Shelf Configuration
You can cleverly capitalize on the often-wasted corner space in your kitchen by incorporating a well-designed corner shelf configuration that seamlessly integrates with your kitchen cart storage. This strategic move won't only enhance the functionality of your kitchen but also create a visually appealing atmosphere.
Consider the following corner shelf configuration ideas to maximize your corner space:
-
Opt for a corner carousel shelf that allows you to easily access items in the back of the corner, making the most of this often-hard-to-reach area.
-
Install a floating corner shelf to create a sleek, modern look while adding storage for cookbooks, spices, or small appliances.
-
Choose a corner shelf with adjustable tiers to accommodate items of varying sizes, from large serving dishes to small condiments.
- Incorporate a corner shelf with a built-in drawer or cabinet to store kitchen essentials, keeping them out of sight while maintaining easy access.
Optimal Shelf Placement
To maximize corner space with shelves, position them between 30 and 40 inches off the floor, allowing you to easily access items without straining your back. This best shelf height guarantees that frequently used items are within easy reach, while less frequently used items can be stored on higher or lower shelves.
When deciding on shelf placement, consider the types of items you'll be storing. Heavy items, like cookbooks or appliances, should be placed on lower shelves for easy access and to prevent straining. Lighter items, like spices or oils, can be stored on higher shelves.
Use shelf labels to keep your storage organized and easy to navigate. Labels can be as simple as 'Cookbooks' or 'Baking Supplies' or as detailed as 'Spices' or 'Oils.'
Here's a sample shelf configuration to get you started:
| Shelf Height | Item Type |
|---|---|
| 30-35 inches | Heavy items (cookbooks, appliances) |
| 35-38 inches | Medium-weight items (canned goods, plates) |
| 38-40 inches | Light items (spices, oils) |
| 40-42 inches | Infrequently used items (special occasion dishes) |
| 42+ inches | Storage for large or bulky items (stand mixers, slow cookers) |
Vertical Space Utilization
Maximizing corner space with shelves is a clever way to reclaim often-wasted real estate in your kitchen, and by strategically placing shelves, you can create a functional storage hub that keeps your countertops clutter-free. This is especially important in smaller kitchens where every inch counts. By installing shelves in corners, you can make the most of the often-neglected space between your countertops and ceiling.
Here are some ideas to get you started:
-
Install stackable containers on your shelves to store dry goods, spices, or baking supplies, keeping them organized and within easy reach.
-
Use ceiling hooks to hang infrequently used items like special occasion dishes, pots, or pans, freeing up shelf space for more essential items.
-
Consider a corner carousel shelf that spins to make it easy to access items in the back.
- Add a shelf with a built-in utensil organizer to keep your countertops clear of clutter.
Hiding Trash and Recycling Bins
As you repurpose your kitchen cart storage, you'll want to tackle the eyesore of trash and recycling bins.
You can cleverly conceal these unsightly necessities by getting creative with storage solutions that blend seamlessly into your kitchen decor.
Conceal the Ugly Bins
You can cleverly disguise unsightly trash and recycling bins behind a kitchen cart's storage compartments or decorative panels. This not only keeps them out of sight but also maintains a clean and organized kitchen.
Here are some creative ways to conceal those ugly bins:
-
Place a decorative screen in front of the bins to create a visually appealing barrier.
-
Wrap fabric around the bins to match your kitchen's aesthetic, making them blend in seamlessly.
-
Use a kitchen cart with built-in storage compartments or shelves to hide the bins from view.
- Install a slide-out trash can or recycling bin behind a decorative panel, making it easy to access while keeping it hidden.
Trash Can Disguise Ideas
Transform your kitchen's unsightly trash and recycling bins into stylish accents by disguising them with creative camouflage. You can easily hide those eyesores with decorative skirts or camouflage containers that blend seamlessly with your kitchen's aesthetic. Choose skirts made from natural materials like wicker or rattan to add a touch of warmth and coziness to your space. For a more modern look, opt for sleek and minimalist designs that conceal the bins without drawing attention to themselves.
Consider repurposing old furniture or crates to create unique camouflage containers. You can also get creative with fabric or wallpaper to match your kitchen's color scheme. This clever disguise won't only keep your trash and recycling bins out of sight but also add a decorative element to your kitchen.
Bin Storage Solutions
Beyond disguising trash cans, cleverly incorporating bin storage solutions into your kitchen cart can keep unsightly waste and recycling bins hidden from view, freeing up valuable floor space and maintaining a clutter-free look. By doing so, you'll create a more streamlined and organized kitchen that's perfect for entertaining or everyday use.
To achieve this, consider the following bin storage solutions:
-
Stackable Bins: Place them under the cart's countertop or on a shelf, and label each one to keep waste and recyclables separate.
-
Decorative Containers: Choose stylish, odor-resistant containers that blend with your kitchen's aesthetic, and position them in a corner or against a wall.
-
Slide-out Recycling Centers: Install a slide-out drawer or shelf specifically designed for recycling bins, making it easy to access and sort recyclables.
- Pull-out Trash Cans: Mount a trash can on a slide-out shelf or drawer, allowing you to effortlessly remove waste without having to lift or carry it.
Creating a Mobile Workspace Station
By repurposing your kitchen cart's storage, you can craft a mobile workspace station that efficiently holds office supplies, crafting tools, or hobby materials, keeping them within easy reach. Imagine having a dedicated space for your creativity or work, free from clutter and organized chaos.
Start by designating a specific area of your cart for a desk organizer, where you can store pens, papers, and other essentials. Add some cord management solutions, like cord clips or a cord reel, to keep your workspace tidy and prevent tangles.
As you continue to customize your mobile station, consider adding a small tray or basket to corral smaller items, like paper clips or pushpins. You can also attach a small bulletin board or a pegboard to the side of the cart, providing additional storage for frequently used items.
With a little creativity, your kitchen cart can transform into a functional and efficient workspace that suits your specific needs. By repurposing your cart's storage, you'll be able to stay focused and productive, while also keeping your workspace organized and clutter-free.
Storing Infrequently Used Kitchen Items
You can also repurpose your kitchen cart's storage to stash infrequently used kitchen items, freeing up valuable space in your kitchen cabinets and drawers. This is especially useful for items that are only used during specific times of the year or for special occasions.
By storing these items in your kitchen cart, you'll keep them organized and out of the way, while still having easy access to them when you need them.
Here are some examples of infrequently used kitchen items you can store in your kitchen cart:
- Seasonal decorations, such as holiday-themed plates, cups, and napkin rings
- Infrequent gadgets, like a bread maker or ice cream maker, that only get used a few times a year
- Special occasion dishes, like fine china or crystal glasses
- Kitchen appliances, like a slow cooker or food dehydrator, that are only used occasionally
Building a Custom Spice Rack
Maximizing your kitchen cart's storage potential, create a custom spice rack that keeps your favorite seasonings within easy reach while decluttering your countertops. With a little creativity, you can turn a cluttered cart into a haven of spice organization.
Here's a sample design to get you started:
| Spice Rack Feature | Description | Materials Needed |
|---|---|---|
| Vertical Slats | Hold small spice bottles | 1" x 2" lumber, wood glue |
| Middle Shelf | Store larger spice containers | 1" x 4" lumber, wood screws |
| Adjustable Dividers | Customize storage for different spice sizes | 1" x 1" lumber, wood glue |
| Back Panel | Add stability and a decorative touch | 1/4" plywood, wood screws |
| Spice Label Holder | Keep track of your spices with ease | Small metal or plastic clips |
Design your rack to fit your cart's dimensions and spice collection. Consider adding a small drawer or tray for extra storage. With your custom spice rack, you'll be whipping up culinary masterpieces in no time!
Converting Cart Into Wine Station
Transform your kitchen cart into a sophisticated wine station that elevates your entertaining game by incorporating a wine glass rack, a built-in wine cooler, and a countertop for wine and cheese pairings. You'll be the perfect host, effortlessly serving your favorite wines to friends and family.
Here's how to create your ultimate wine station:
-
Install a wine glass rack on the side of the cart, holding up to 12 glasses within easy reach.
-
Add a built-in wine cooler to keep your wine at the perfect temperature, ensuring each sip is invigorating and flavorful.
-
Incorporate a countertop with a built-in Wine Aerator, allowing you to precisely control the aeration process for the perfect pour.
- Complete your wine station with Bottle Chillers, keeping your whites and champagnes chilled to perfection.
Frequently Asked Questions
Can I Repurpose an Old Dresser as a Kitchen Cart?
You can totally give an old dresser a makeover as a kitchen cart! With a furniture upcycle, you'll save money and reduce waste. Just imagine, you'll be serving up style and functionality in your kitchen in no time!
How Do I Secure Heavy Items on My Kitchen Cart Shelves?
You'll want to secure those heavy items on your kitchen cart shelves by installing shelf dividers or anchor systems, ensuring stability and preventing accidents, and keeping your kitchen organized and safe for everyone.
Are Kitchen Carts Suitable for Small or Galley Kitchens?
You're a master chef maneuvering a tiny kitchen, where every inch is a precious gem. Kitchen carts are perfect space savers for small or galley kitchens, streamlining kitchen workflows and keeping essentials within reach, making meal prep a breeze.
Can I Add Casters to an Existing Kitchen Cart?
You can easily add casters to an existing kitchen cart, choosing from soft-wheel, locking, or heavy-duty options. Just make sure you select casters that match your cart's weight limits, usually indicated by the manufacturer, to guarantee smooth mobility and safety.
Do Kitchen Carts Come With Built-In Electrical Outlets?
"As you plug into the world of kitchen carts, you'll find that some models come equipped with built-in electrical outlets, strategically placed for seamless power integration, while others leave outlet placement up to your creative discretion."
Related Posts
-

Roll-Out Trays for Modular Kitchen Cabinets
Roll-out trays are the perfect addition to your modular kitchen cabinets, enhancing both accessibility and organizati...
-

Countertop Storage Ideas for Small Kitchens
If you're looking to maximize your small kitchen, creative countertop storage solutions can make a big difference. Em...
-

Wall-Mounted Racks for Kitchen Tool Storage
Wall-mounted racks are perfect for maximizing storage in your kitchen. By utilizing vertical space, you can free up u...


