7 Best DIY Kitchen Cart Storage Hacks Download
Share
You're just a few hacks away from a super-functional kitchen cart! Start by maximizing vertical space with shelves, hooks, or pegboards on the sides and ceiling shelves for infrequently used items. Next, optimize your drawers with dividers, soft-close slides, and a "first in, first out" rule. Don't forget to create adjustable shelving units, add hidden trash can storage, and designate zones for utensils. Repurpose old furniture pieces to add character and functionality. With these DIY storage hacks, you'll be whipping up meals in no time. Get ready to uncover even more ingenious ideas to transform your kitchen cart into a productivity powerhouse.
Key Takeaways
• Maximize vertical space on your kitchen cart by installing shelves, hooks, or pegboards on the sides and adding ceiling shelves for infrequently used items.
• Utilize corner nooks by fitting spice racks or oil containers to optimize storage and reduce clutter.
• Implement adjustable shelving solutions, such as modular frameworks or shelves with adjustable heights, to customize storage to your needs.
• Designate a utensil zone on your kitchen cart by grouping similar items together and labeling each zone for easy identification.
• Repurpose old furniture pieces, like an old dresser or vintage window, to add unique storage capabilities and character to your kitchen cart.
Utilize Vertical Space Efficiently
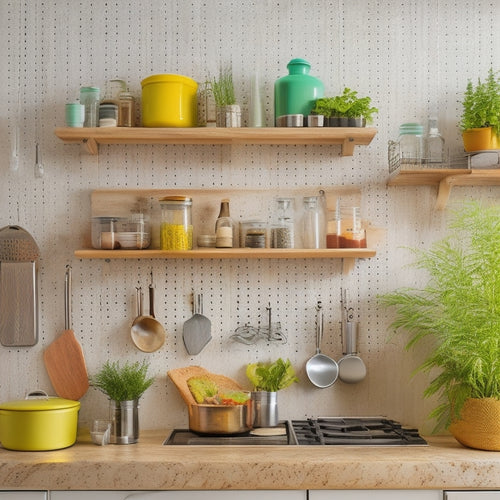
Maximize your kitchen cart's storage capacity by installing shelves, hooks, or a pegboard on its sides or back, freeing up floor space and keeping frequently used items within easy reach. This will allow you to take advantage of the often-wasted vertical space in your kitchen.
Consider adding ceiling shelves above your cart to store infrequently used items like special occasion dishes or cookbooks. This will keep them out of the way but still accessible when you need them.
Don't forget about the corner nooks on your cart - these can be perfect for storing spices, oils, or other small items. You can install a carousel or a lazy Susan to make the most of this space.
By utilizing your cart's vertical space, you'll be able to fit more items in a smaller footprint, making your kitchen feel more organized and efficient. Plus, you'll be able to easily see and access everything you need, making meal prep and cooking a breeze.
With a little creativity, you can turn your kitchen cart into a storage powerhouse.
Maximize Drawer Storage Capacity
When you're working with limited drawer space, every inch counts.
To maximize storage capacity, you'll want to optimize your drawer's layout and utilize vertical storage solutions.
Optimize Drawer Space
You can easily triple the storage capacity of your kitchen cart drawers by implementing a few simple yet effective organizational strategies. One of the most effective ways to optimize your drawer space is to use drawer dividers. These dividers help keep similar items together, making it easier to find what you need when you need it. Additionally, consider installing soft-close drawer slides to prevent drawers from slamming shut and to guarantee smooth operation.
Here are some additional tips to help you optimize your drawer space:
-
Purge and declutter: Remove any unnecessary items from your drawers to free up space for the things you really need.
-
Assign a home: Designate a specific spot in your drawer for each item, making it easier to find and put away.
-
Use vertical space: Utilize the vertical space in your drawers by storing items like plates, bowls, or cutting boards on their sides.
- Implement a 'first in, first out' rule: Store new items behind existing ones to make sure that older items are used before they expire.
Utilize Vertical Storage
Utilize Vertical Storage
How can you squeeze even more storage out of your kitchen cart drawers? One effective way is to utilize vertical storage. By installing ceiling shelves or wall-mounted storage units, you can maximize the storage capacity of your kitchen cart without taking up valuable floor or counter space.
Here are some ideas to get you started:
| Storage Solution | Description |
|---|---|
| Ceiling Shelves | Install shelves above your kitchen cart to store infrequently used items, such as special occasion dishes or cookbooks. |
| Wall Anchors | Use wall anchors to hang utensils, pots, or pans, keeping them organized and within easy reach. |
| Stackable Baskets | Place stackable baskets on top of your kitchen cart to store dry goods, linens, or cleaning supplies. |
| Adjustable Shelves | Install adjustable shelves to accommodate items of varying sizes, such as cookware, appliances, or food containers. |
| Over-the-Door Storage | Utilize over-the-door storage racks to hang items like spices, oils, or snacks, keeping them organized and easily accessible. |
Create Adjustable Shelving Units
By incorporating adjustable shelving units into your kitchen cart, you can maximize storage capacity and accommodate items of varying sizes. This clever storage hack allows you to customize the shelving to fit your specific needs, making the most of the available space.
To create adjustable shelving units, consider the following:
-
Modular frameworks: Use a modular system that allows you to add or remove shelves as needed. This guarantees that your shelving unit is flexible and can adapt to changing storage requirements.
-
Customizable heights: Choose shelves with adjustable heights to accommodate items of different sizes. This feature is particularly useful for storing cookbooks, appliances, and utensils.
-
Sliding shelves: Incorporate sliding shelves to provide easy access to items stored in the back. This feature is perfect for storing heavy or bulky items.
- Basket storage: Add basket storage to the shelves to keep small items organized and within reach.
Add Hidden Trash Can Storage
When you're designing your kitchen cart, you'll want to think about where to stash the trash.
By incorporating hidden trash can storage, you'll keep your kitchen looking sleek and organized.
You can conceal unsightly waste bins and create a slide-out trash compartment that's both functional and out of sight.
Conceal Unsightly Waste Bins
Incorporating hidden trash can storage into your kitchen cart design keeps unsightly waste bins out of sight, freeing up floor space and creating a more streamlined look. This thoughtful design element not only enhances the aesthetic appeal of your kitchen but also promotes a cleaner and more organized environment.
To conceal waste bins effectively, consider the following:
-
Bin Decor: Add a decorative touch to your waste concealers by using bins with stylish designs or patterns that blend seamlessly with your kitchen decor.
-
Waste Concealers: Install slide-out or pull-out waste concealers that can be easily accessed when needed, keeping the waste bins hidden from view.
-
Tuck-away Trash: Design a hidden compartment or niche within your kitchen cart to store waste bins, keeping them out of sight and creating a clutter-free zone.
- Discreet Drawers: Incorporate drawers or cabinets with soft-close mechanisms to store waste bins, ensuring a smooth and quiet operation.
Slide-Out Trash Compartment
You can create a seamless slide-out trash compartment by designing a smooth-gliding drawer or shelf that effortlessly pulls out to reveal a hidden trash can storage area. This clever hack not only keeps your kitchen cart organized but also elevates your trash can aesthetics.
By incorporating a slide-out compartment, you can stash your trash can out of sight, maintaining a clean and clutter-free kitchen.
To customize your compartment, consider the size and shape of your trash can. You can design the drawer or shelf to fit snugly around the can, ensuring a seamless fit. Add some decorative trim or molding to conceal the compartment's edges, blending it with the rest of your kitchen cart.
For a more personalized touch, choose a finish that complements your kitchen's color scheme. With a little creativity, you can create a slide-out trash compartment that not only serves its purpose but also adds a touch of sophistication to your kitchen.
Incorporate Spice Rack Organization
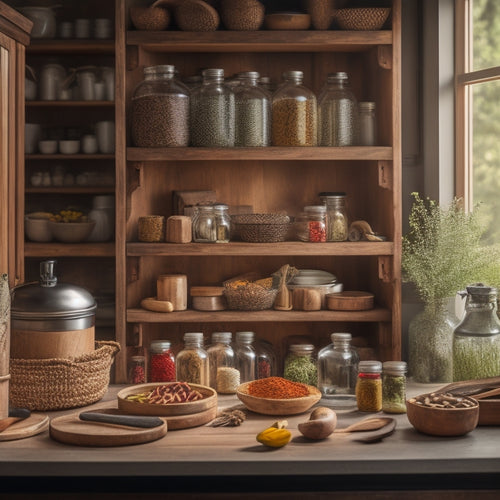
Sixteen spices are neatly tucked away on the side of your kitchen cart, thanks to a simple yet efficient spice rack installation. This clever storage hack keeps your countertops clutter-free and makes meal prep a breeze.
Imagine being able to grab the perfect spice in an instant, without having to dig through a cluttered cabinet or drawer.
To take your spice rack organization to the next level, consider these tips:
-
Opt for a rotating carousel: This allows you to easily access spices in the back without having to remove the entire rack.
-
Choose a rack with adjustable shelves: This guarantees that your spice bottles fit snugly, regardless of their size.
-
Label each shelf: This helps you quickly identify the spice you need, saving you time and frustration.
- Keep frequently used spices front and center: Store your most-used spices in easy-to-reach locations, making cooking and baking a snap.
Designate Zones for Utensils
Assign specific zones on your kitchen cart for utensils, grouping similar items together to create a sense of order and streamline your cooking workflow. By designating zones, you'll reduce clutter and make it easier to find what you need when you need it.
Create utensil clusters by categorizing items into groups, such as baking tools, cooking utensils, and servingware. This will help you visualize your kitchen cart's storage potential and maximize its efficiency.
Use zone labels to identify each area, making it easy for you and others to find what they need. For example, label a drawer 'Baking Essentials' or a shelf 'Cooking Utensils.' This visual cue will help you maintain your organized system and prevent clutter from building up again.
Repurpose Old Furniture Pieces
Breathing new life into old furniture pieces can transform your kitchen cart's storage capabilities, providing a unique opportunity to add character and functionality to your space. You can give new purpose to items that would otherwise end up in landfills, making your kitchen cart a true reflection of your creativity and resourcefulness.
Here are some ideas to get you started:
-
Old Dresser Turned Kitchen Cart: Repurpose an old dresser into a kitchen cart by attaching casters and a butcher-block top.
-
Vintage Window Turned Shelf: Hang an old window on your kitchen cart to create a unique shelf for storing cookbooks, spices, or kitchen decor.
-
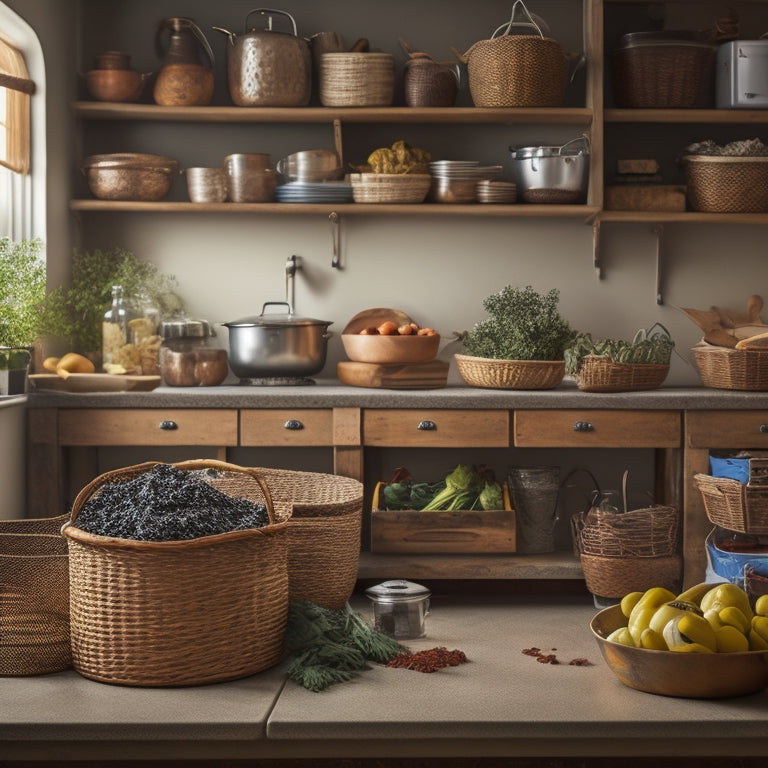
Wicker Basket Turned Storage: Attach wicker baskets to your kitchen cart to store utensils, linens, or other kitchen essentials.
- Pallet Turned Spice Rack: Upcycle an old pallet into a spice rack or knife block to add a touch of rustic charm to your kitchen cart.
Frequently Asked Questions
How Do I Measure My Kitchen Space for DIY Cart Storage?
'Imagine your kitchen as a puzzle, and you're the master puzzle solver! To measure your space for DIY cart storage, start by mapping out your room layout, noting the corner dimensions, and taking precise measurements to guarantee a seamless fit.'
Can I Use a DIY Cart for Outdoor Kitchen Storage?
You can definitely use a DIY cart for outdoor kitchen storage, but make sure it's weather-resistant and durable enough to withstand outdoor conditions, like rain and sunlight, to keep your items protected and organized.
Are DIY Kitchen Cart Storage Hacks Suitable for Small Kitchens?
"Step into the 21st century with a DIY kitchen cart that's a game-changer for small kitchens! You'll optimize space, streamline your kitchen workflow, and create a harmonious cooking haven that'll make serving others a breeze."
What Materials Are Best for Building a DIY Kitchen Cart?
When building a DIY kitchen cart, you'll choose between wood options like pine, oak, or maple, or metal alternatives like stainless steel, aluminum, or copper, considering durability, style, and your kitchen's aesthetic.
Can I Customize a DIY Kitchen Cart for a Specific Cooking Style?
You can customize a DIY kitchen cart to fit your culinary preferences and cooking techniques by choosing materials, colors, and accessories that reflect your style, such as adding a built-in spice rack or a utensil holder.
Related Posts
-

Stylish Pegboard Storage for Open Kitchen Concepts
Stylish pegboard storage can completely enhance your open kitchen concept, merging practicality with contemporary fla...
-

Revolving Cabinet Organizer Lazy Susan
A revolving cabinet organizer like a Lazy Susan is a transformative solution for your kitchen. It maximizes space and...
-

Space-Efficient Dish Racks for Tiny Homes
Space-efficient dish racks are a game changer for tiny homes. By utilizing vertical storage, you can free up signific...


