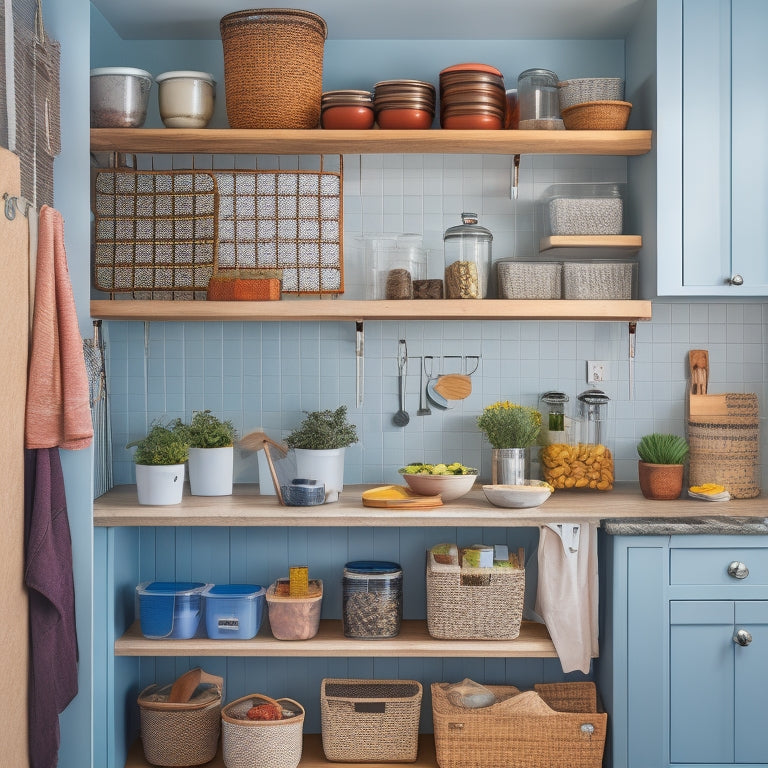
10 Best DIY Kitchen Storage Hacks for Renters
You're tired of a cluttered kitchen, but don't want to make any permanent changes to your rental. Fear not! You can maximize your kitchen's storage capacity with these 10 DIY hacks. Start by transforming your kitchen space with a magnetic spice strip solution, repurposing a cart for storage, and creating an over-the-sink shelf hack. Conquer clutter with hidden trash can storage and DIY shelf dividers. Plus, install an under-cabinet basket system, utilize window ledge storage, and hang utensils with adhesive hooks. There's more - discover how to optimize your kitchen's vertical storage and uncover more ingenious hacks that'll make your kitchen feel like your own.
Key Takeaways
• Utilize magnetic spice strips to transform kitchen space without wall damage and free up counter space.
• Repurpose carts for storage to maximize kitchen real estate and prioritize cleanliness.
• Create over-the-sink shelves to maximize sink space, store sink essentials, and utilize dead corners.
• Conceal trash cans with hidden storage solutions to free up floor space and maintain a neat kitchen appearance.
• Employ DIY shelf dividers to customize shelf compartments, keep items accessible, and maximize vertical storage.
Magnetic Spice Strip Solution
Transform your kitchen into a culinary haven by utilizing the Magnetic Spice Strip Solution, which cleverly repurposes the side of a cabinet or fridge into a convenient spice station. This innovative storage hack is perfect for renters who want to maximize their kitchen space without damaging the walls or cabinets. By installing a magnetic spice strip, you'll free up valuable counter space and keep your spices within easy reach.
With this solution, you can create a visually appealing kitchen decor that's both functional and stylish. The magnetic strip can be mounted vertically or horizontally, depending on your kitchen layout and personal preference. Plus, it's easy to clean and maintain, making it a practical addition to your kitchen.
The Magnetic Spice Strip Solution is also a great way to achieve ideal spice organization. You can arrange your spices alphabetically, by frequency of use, or by category, making it easy to find the perfect seasoning for your dishes. By keeping your spices organized and within reach, you'll be able to whip up delicious meals in no time, and make cooking for others a breeze.
Repurposed Cart for Storage
You're probably familiar with the struggle of limited counter space in your rental kitchen.
That's where a repurposed cart comes in - a versatile solution that can be tweaked to fit your specific storage needs.
Cart Organization Ideas
Maximize your kitchen's real estate by repurposing a cart into a storage powerhouse, perfect for corralling clutter and keeping essentials within easy reach.
To get the most out of your cart, prioritize Cart Cleanliness by wiping it down regularly and tidying up any messes as they happen. This will prevent crumbs and spills from building up and make cleaning a breeze.
Next, consider adding Cart Accessories like baskets, bins, or hooks to create separate storage zones. This will help you categorize items and make them easy to find. For example, you can store spices in a small basket, utensils in a bin, and tea towels on a hook.
Utilize Empty Space
By repurposing a cart to fill an empty corner or against a wall, you can access valuable storage real estate in your kitchen. This hack is perfect for renters who want to maximize their kitchen space without making any permanent changes.
Look for a cart with multiple tiers or shelves to store items like cookbooks, spices, or infrequently used kitchen gadgets. You can also add baskets or bins to further categorize and conceal your belongings.
To take your storage to the next level, consider installing high shelves or ceiling storage units. These will allow you to store items that you don't use frequently, like special occasion dishes or out-of-season cookware, keeping them out of the way but still accessible.
Over-the-Sink Shelf Hack
You're probably thinking, 'What's the deal with the dead space above my sink?'
Well, you can turn that area into a valuable storage spot with an over-the-sink shelf hack.
Maximizing Sink Space
In the cramped quarters of a rental kitchen, every inch counts, and installing an over-the-sink shelf hack can instantly free up valuable counter space. By utilizing the often-wasted space above your sink, you can create a convenient spot for storing essentials within easy reach. This hack is especially useful for renters who can't make permanent changes to their kitchen.
Here are some benefits of maximizing your sink space:
-
More counter space: With a shelf above your sink, you'll have more room to prep meals or display decorative items.
-
Easy access to sink organizers: Store soap, sponges, and other sink essentials within easy reach, keeping your countertops clutter-free.
-
Faucet shelves for extra storage: Install a shelf that fits around your faucet to store small items like scrubbers, toothbrush holders, or even a tiny planter.
-
Aesthetically pleasing: Add some greenery or decorative items to your new shelf to brighten up your kitchen.
-
Rent-friendly: This hack is easy to install and remove, making it perfect for renters who want to customize their kitchen without making permanent changes.
Utilizing Dead Corners
Dead corners, like the areas above your sink, can be repurposed to hold a surprising amount of kitchen essentials, freeing up valuable counter space and streamlining your workflow. By installing an over-the-sink shelf, you'll be amazed at how much more efficient your kitchen becomes.
Here are some innovative ways to utilize dead corners:
| Solution | Benefits |
|---|---|
| Corner Carousels | Easy access to frequently used items, maximizing storage capacity |
| Angular Shelves | Provides additional counter space, perfect for small appliances or decorative items |
| Adjustable Shelf | Accommodates items of varying sizes, ensuring a clutter-free area |
These clever solutions will help you make the most of your kitchen's hidden spaces. Corner carousels, for instance, allow you to store spices, oils, or cleaning supplies within easy reach. Meanwhile, angular shelves can hold small appliances, cookbooks, or decorative items, keeping them organized and out of the way. By utilizing dead corners, you'll be able to focus on cooking up a storm, rather than worrying about cluttered countertops!
Mounting the Shelf
With your over-the-sink shelf hack chosen, it's time to secure it firmly in place, guaranteeing your new storage solution doesn't compromise the functionality of your sink area. You want to make sure it's stable and won't topple over, causing a mess or even damage to your sink.
To achieve this, follow these essential steps:
-
Locate the wall studs behind your sink using a stud finder to make certain you're drilling into a solid surface.
-
Mark the spot where you'll attach the shelf anchors, ensuring they're level and evenly spaced.
-
Drill pilot holes for the anchors, taking care not to damage the surrounding area.
-
Screw in the shelf anchors, tightening them firmly to create a secure base.
-
Finally, place your over-the-sink shelf onto the anchors, adjusting it as needed for a snug fit.
Hidden Trash Can Storage
You can cleverly conceal your trash can behind a decorative curtain or room divider, freeing up valuable floor space in your kitchen. This hack is especially useful for renters who can't make major changes to the kitchen layout.
Decorative screens or room dividers come in various styles and materials, allowing you to choose one that complements your kitchen's aesthetic. Simply place the screen or divider in front of the trash can, and you'll have a neat and tidy kitchen.
Another option is to use sliding drawers or shelves with built-in trash can compartments. These can be installed under the kitchen counter or in a corner, keeping the trash can out of sight. Sliding drawers are especially convenient, as they allow you to easily access the trash can when needed.
DIY Shelf Dividers Project
You're about to transform your kitchen shelves from cluttered chaos to organized oases with this DIY shelf dividers project.
By creating custom compartments, you'll be able to divide and conquer your storage space, maximizing every inch of vertical real estate.
With these simple yet effective dividers, you'll be able to tailor your shelves to your specific needs, keeping your kitchen essentials within easy reach.
Divide and Conquer Space
Maximize your shelf's real estate by creating DIY dividers that corral clutter and keep similar items together. You'll be amazed at how a little organization can make a big impact on your kitchen's functionality. By dividing your shelf into separate zones, you'll be able to find what you need quickly and easily. Plus, it's an easy way to implement zone segregation, keeping similar items grouped together.
Here are some benefits of DIY shelf dividers:
-
Flexible furniture: You can customize your dividers to fit your specific needs and adjust them as needed.
-
Create separate areas for baking supplies, cooking essentials, and snacks.
-
Keep frequently used items front and center, and store less-used items towards the back.
-
Use dividers to separate similar items, like different types of pasta or canned goods.
-
Add a decorative touch with decorative baskets or bins to store small items.
Customize Shelf Compartments
Create a tailored storage system by building DIY shelf dividers that fit your kitchen's unique needs and style. You'll be amazed at how these simple additions can transform your kitchen's functionality. Start by measuring your shelves and deciding on the number of compartments you need. Cut wooden or plastic dividers to size, and attach them to the shelf using screws, nails, or adhesive. You can also use repurposed materials like cardboard or fabric to create a more rustic or eclectic look.
To add an extra layer of customization, consider building custom shelves with built-in dividers. This will give you complete control over the design and layout of your storage system. You can choose materials that match your kitchen's aesthetic, from sleek modern wood to distressed vintage metal.
With custom shelves, you can create a seamless look that blends in with your existing cabinetry. By investing a little time and effort into your DIY shelf dividers project, you'll be rewarded with a kitchen that's both beautiful and functional.
Maximize Vertical Storage
By installing DIY shelf dividers that span from floor to ceiling, you can maximize the full potential of your kitchen's vertical space. This allows you to store items that are less frequently used, freeing up space on lower shelves for everyday essentials.
Here are some benefits you can expect from this DIY project:
-
Effortless access: Store heavy or bulky items on lower shelves, making it easier to retrieve them when needed.
-
Dust reduction: Keep items off the floor, reducing the amount of dust that accumulates on shelves and in corners.
-
Visual appeal: Create a sense of order and tidiness, making your kitchen feel more organized and inviting.
-
Increased storage: Make the most of your kitchen's high shelves, storing items like infrequently used cookbooks or special occasion dishes.
-
Customization: Design your dividers to fit your specific storage needs, ensuring everything has a designated place.
Under-Cabinet Basket System
You can install an under-cabinet basket system to make the most of the dead space between your cabinets and countertops. This clever hack allows you to store kitchen essentials, such as spices, oils, or cleaning supplies, within easy reach.
To get started, measure the space between your cabinets and countertops to determine the ideal basket size. Choose baskets with a sturdy design and easy-glide slides to guarantee smooth operation.
When it comes to basket installation, consider using adhesive hooks or screws to secure the baskets to the cabinet. This will prevent them from shifting or falling during use. Opt for baskets with a removable liner for easy cleaning and maintenance.
By optimizing your cabinet space with an under-cabinet basket system, you'll free up valuable counter and shelf space for more important items. Plus, this DIY project is easy to customize to fit your kitchen's unique needs and style.
With a little creativity and some basic tools, you can create a more organized, functional kitchen that serves you and your loved ones better.
Window Ledge Storage Solution
How can you transform the often-wasted window ledge space above your sink or cooking area into a clever storage solution that keeps frequently used items, like cookbooks or utensils, within easy reach? By turning this neglected area into a functional storage space, you'll not only declutter your countertops but also add a touch of Ledge Decor to your kitchen.
Here are some ideas to get you started:
-
Install a window ledge shelf to hold cookbooks, spices, or small appliances
-
Add a decorative basket or container to store utensils, oils, or condiments
-
Use a window-mounted planter to grow fresh herbs or greens
-
Place a small tray or dish rack to store frequently used items like coffee cups or colanders
-
Incorporate a stylish window treatment, like Roman shades or plantation shutters, to enhance your Window Styles while keeping the ledge clear for storage
Adhesive Hooks for Utensils
Take advantage of the narrow strips of wall space between your kitchen cabinets or appliances by installing adhesive hooks that can hold everything from spatulas to whisks. This DIY hack is perfect for renters, as it doesn't require any major renovations or damage to the walls. When choosing adhesive hooks, consider the weight and size of the utensils you plan to hang. Look for hooks with a durable adhesive that can hold a decent amount of weight.
Proper utensil placement is key to maximizing storage space. Group similar utensils together, such as all your baking tools or cooking spoons. This makes it easy to find what you need when you need it. For added convenience, consider installing hooks near your cooking station or prep area. This keeps your utensils within arm's reach, making cooking and prep work a breeze.
With adhesive hooks, you can free up drawer space and keep your countertops clutter-free. Plus, they're easy to remove when you move out, leaving no residue behind.
Hanging Pot Lid Organizer
A hanging pot lid organizer can be a game-changer for renters, providing a convenient and space-saving way to store pot lids and keep them organized. As a renter, you understand the importance of maximizing your kitchen's limited space.
A hanging pot lid organizer is a simple yet effective solution to keep your kitchen essentials within easy reach while keeping your countertops clutter-free.
Here are some benefits of using a hanging pot lid organizer:
- Keeps pot lids organized and easy to access
- Saves valuable counter and cabinet space
- Can be easily installed on a wall or door
- Can be customized to fit your kitchen's unique style
- Is a great space saver for renters with small kitchens
Fold-Down Table Extension
You can instantly increase your counter space with a fold-down table extension, a genius DIY hack that's perfect for renters with cramped kitchens. This space-saving solution allows you to temporarily expand your countertop, providing extra room for food preparation, cooking, or even serving. When not in use, the table extension folds down, freeing up valuable floor space.
Here's a breakdown of the benefits:
| Feature | Advantage | Result |
|---|---|---|
| Fold-down design | Saves floor space | More room to move around |
| Additional counter space | Increases food prep area | Easier meal preparation |
| Temporary extension | No permanent installation | Rent-friendly solution |
To maximize the use of your fold-down table extension, consider pairing it with a tabletop organizer. This will help keep your countertops clutter-free and organized, ensuring a more efficient cooking experience. As a renter, it's essential to prioritize space savers like this DIY hack, which can greatly improve the functionality of your kitchen without breaking the bank or violating your rental agreement.
Frequently Asked Questions
Can I Use DIY Storage Hacks in a Small Kitchen?
You can totally use DIY storage hacks in a small kitchen! By optimizing space and streamlining your kitchen workflow, you'll create a more efficient cooking area that's perfect for whipping up delicious meals for others.
Are These Storage Hacks Easy to Remove When I Move Out?
When you're preparing to move out, you'll appreciate that these storage hacks use temporary fixtures, ensuring easy removal without damaging the space, and complying with your rental agreements, making the switch smooth and hassle-free.
Can I Customize DIY Storage Hacks to Fit My Kitchen Style?
You can totally customize DIY storage hacks to fit your kitchen style! Incorporate personalized decor elements and focus on aesthetic integration to guarantee your storage solutions blend seamlessly with your unique kitchen vibe.
Are DIY Storage Hacks a Cost-Effective Solution?
You'll be thrilled to know that 75% of homeowners consider DIY projects a cost-effective way to upgrade their space. Given your budget constraints, DIY storage hacks are a savvy solution, optimizing your kitchen's space without breaking the bank.
Do DIY Storage Hacks Require Any Special Skills or Tools?
You'll find most DIY storage hacks require minimal special skills, but some time commitment for material sourcing. With a bit of creativity, you can repurpose items you already have, keeping costs low and making it a manageable project.
Related Posts
-
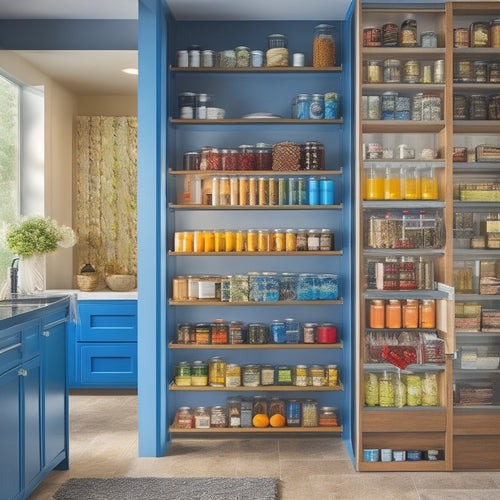
Sliding Pantry Organizers With Tiered Racks
Sliding pantry organizers with tiered racks optimize your pantry space and enhance accessibility. These organizers cr...
-
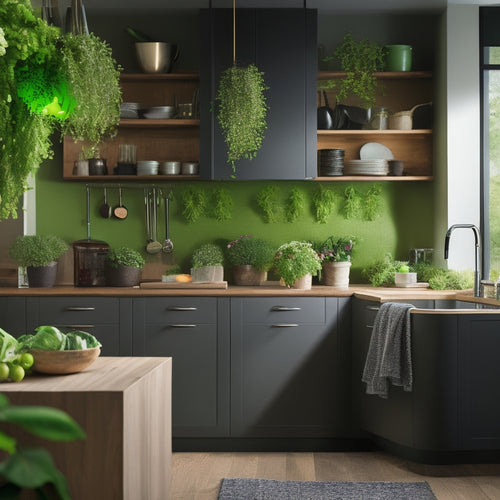
Rechargeable Under-Cabinet Lighting for Sustainable Kitchens
Rechargeable under-cabinet lighting is ideal for your sustainable kitchen. You'll enjoy energy efficiency with LED te...
-
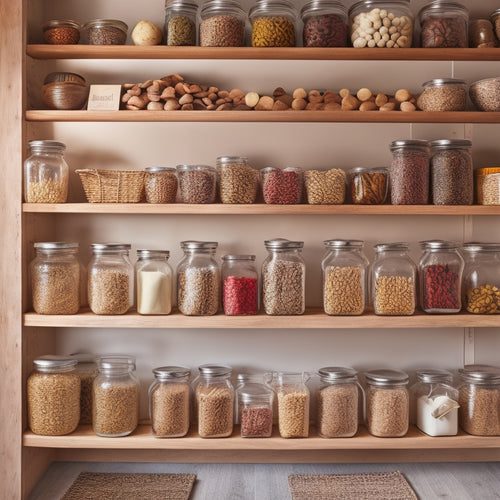
Innovative Pantry Storage Ideas for Homes
Revamp your pantry into an efficient space with innovative storage solutions. Use vertical storage options like ceili...


