
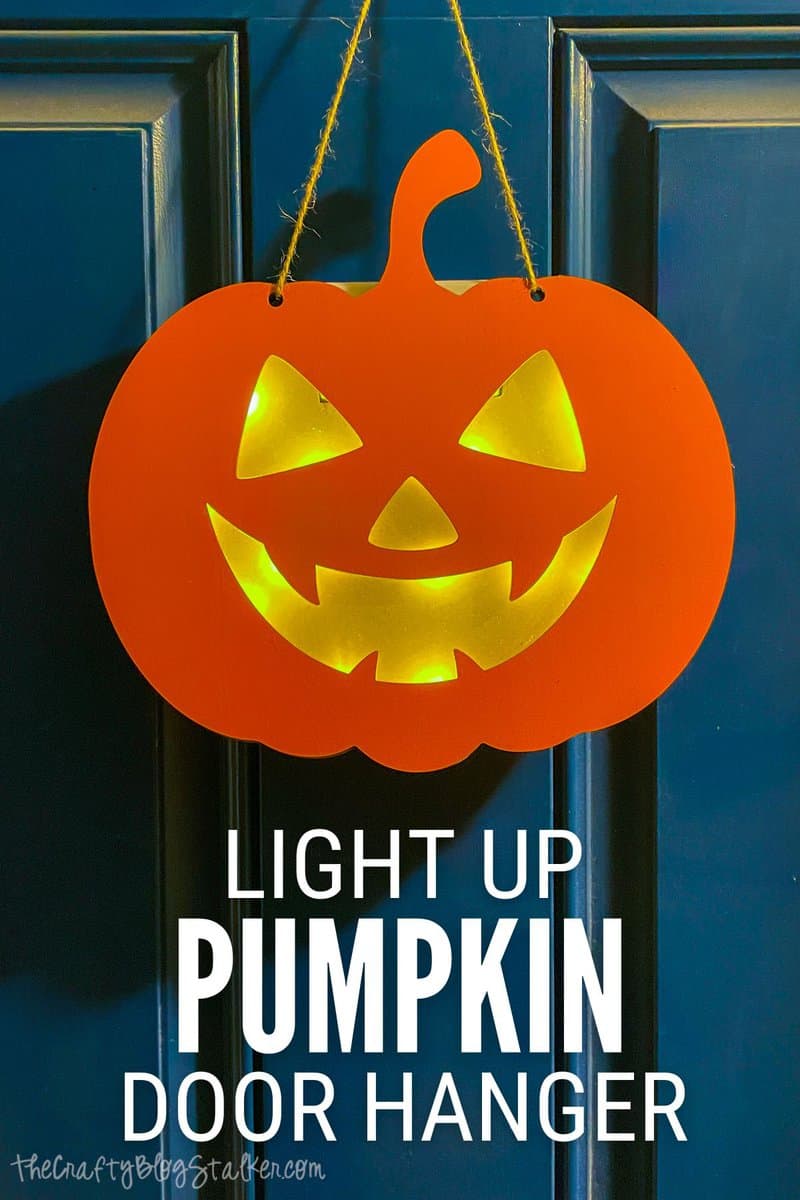
Want to make a really cool door hanger for Halloween? This how-to video will show how to make a light-up pumpkin door hanger complete with a step-by-step guide. We may earn a commission if you make a purchase using the links below.
I love to craft for any holiday, but Halloween is definitely at the top of that list.
You can create in spooky or cute themes making it fun for every personal style.
I designed this DIY door hanger and cut it on my laser cutting machine, and I absolutely love how it turned out.
You can find the SVG design below so you can make your own!
Craft Tutorial Video:
Like videos? I have a video tutorial for you! Please subscribe to my YouTube Channel so you don't miss out on any future video tutorials!
More Halloween Craft Tutorials:
Halloween is such a fun time to craft! Whether you go spooky or fun, the possibilities are endless. We love Halloween projects and have several tutorials we want to share with you. Like these Light Up Potion Bottles, a Stitched Pumpkin, and these Shaped Crayons with a Colorable Halloween Tag.
Be sure to look around the blog for more fun Halloween Tutorials!
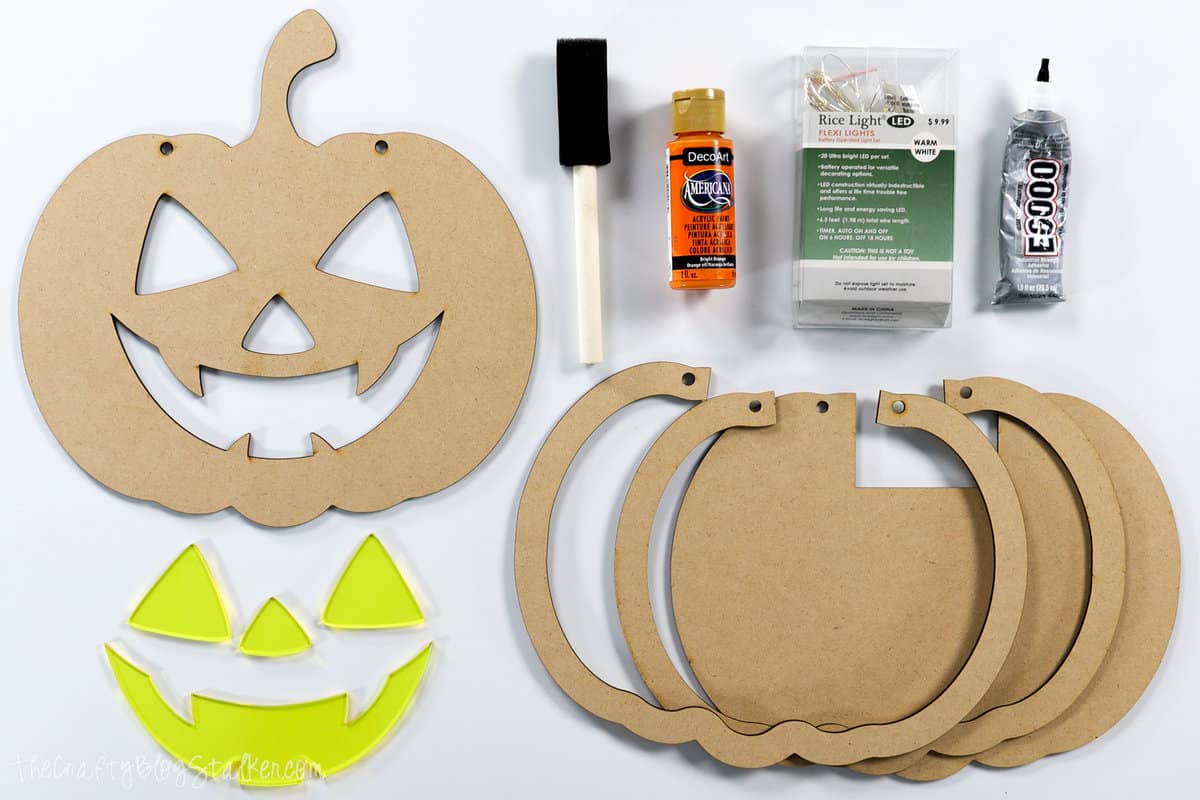
Supplies You'll Need to Create this Project:
- Laser Cutter
- Pumpkin Door Hanger SVG File
- ⅛-inch MDF Board
- ⅛-inch Yellow Acrylic Sheet
- Orange Acrylic Paint
- Foam Paint Brush
- E600 Glue
- LED 20 Rice Lights
- Batteries
- Painter's Tape
- Twine
- Command Strips (optional)
Step 1: Cut
Grab the Jack-O-Lantern Door Hanger SVG.
Using a laser cutting machine, cut out the wood and acrylic pieces.
I cut this on my OmTech 50-watt CO2 Laser.
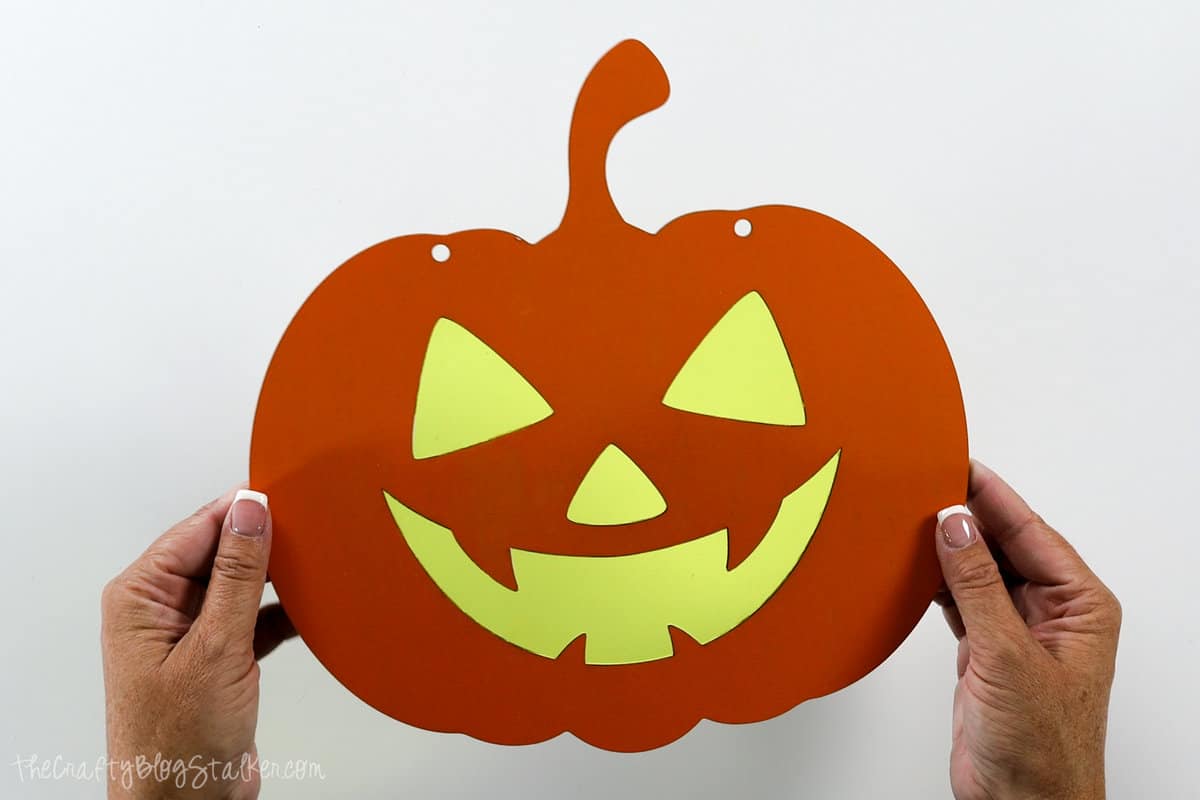
Paint the Pumpkin:
Paint the front side of the pumpkin with two coats of orange paint.
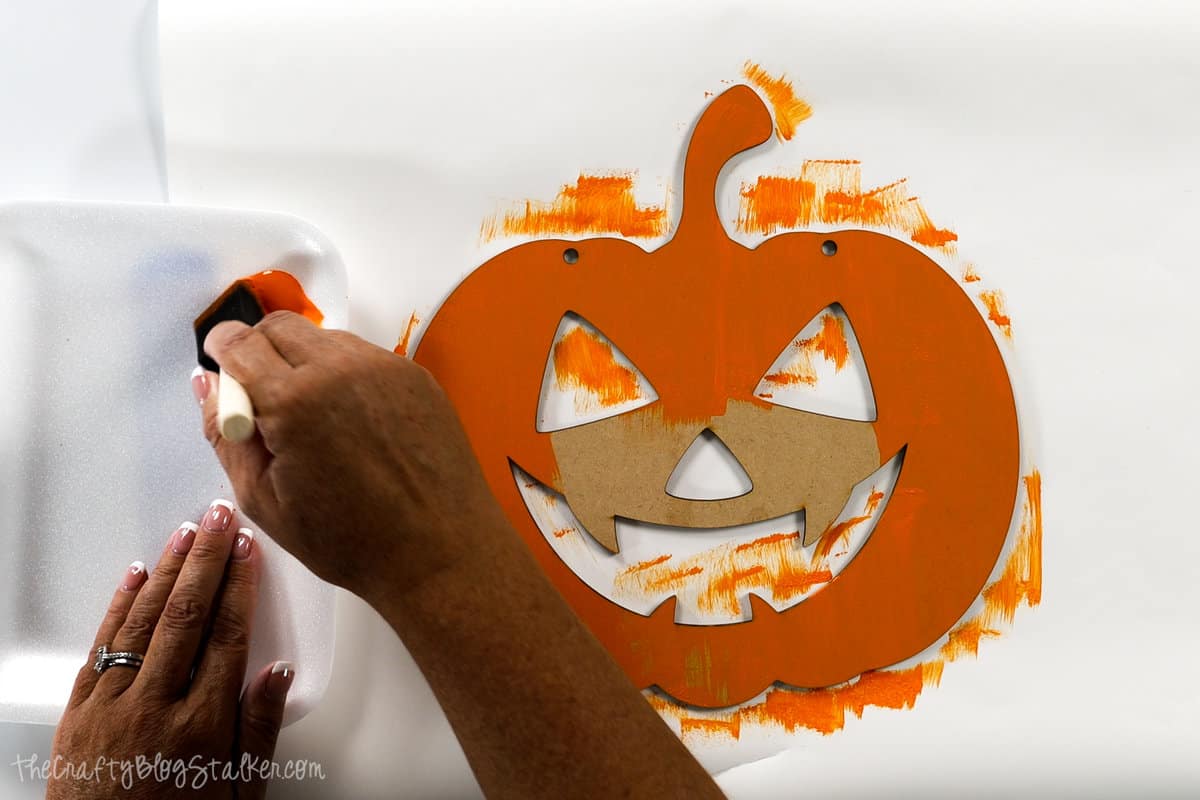
Let it dry completely before moving to the next step.
Step 2: Glue Acrylic Pieces
The acrylic pieces only fit into the holes when rotated in a specific direction.
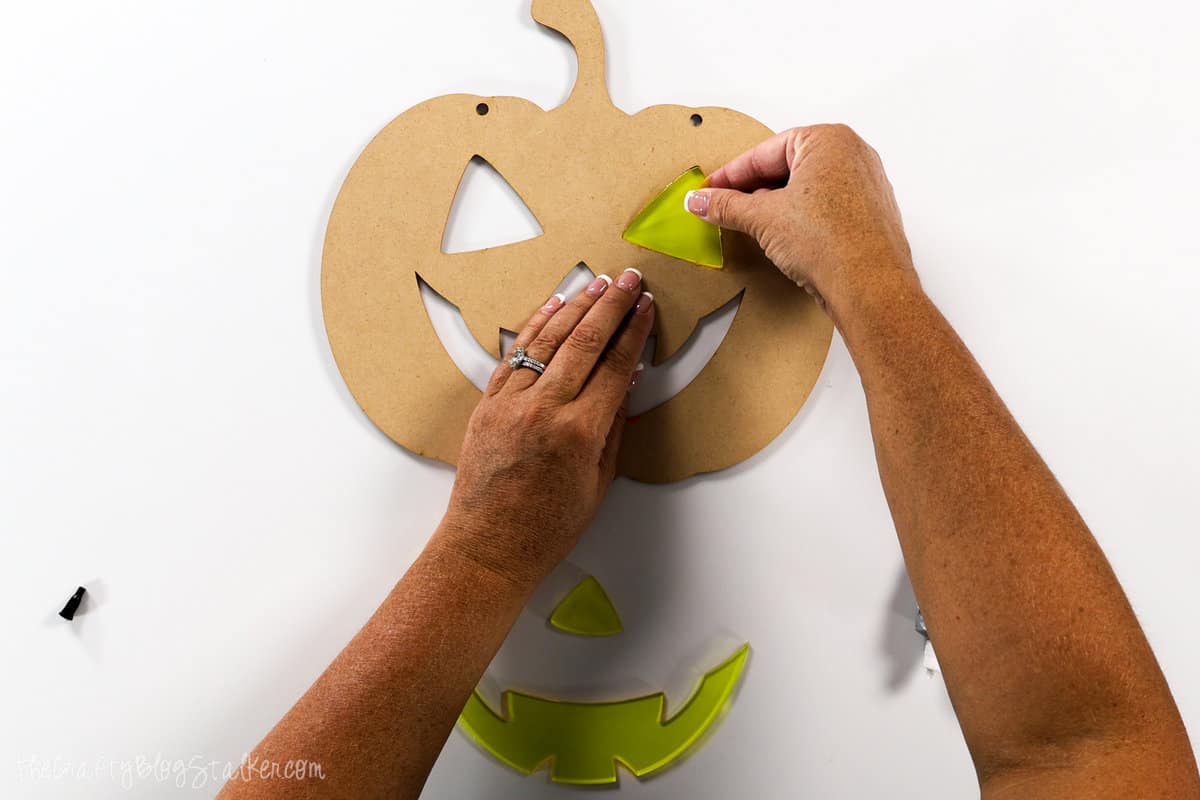
Apply a thin line of glue around each acrylic piece and press it into the pumpkin.
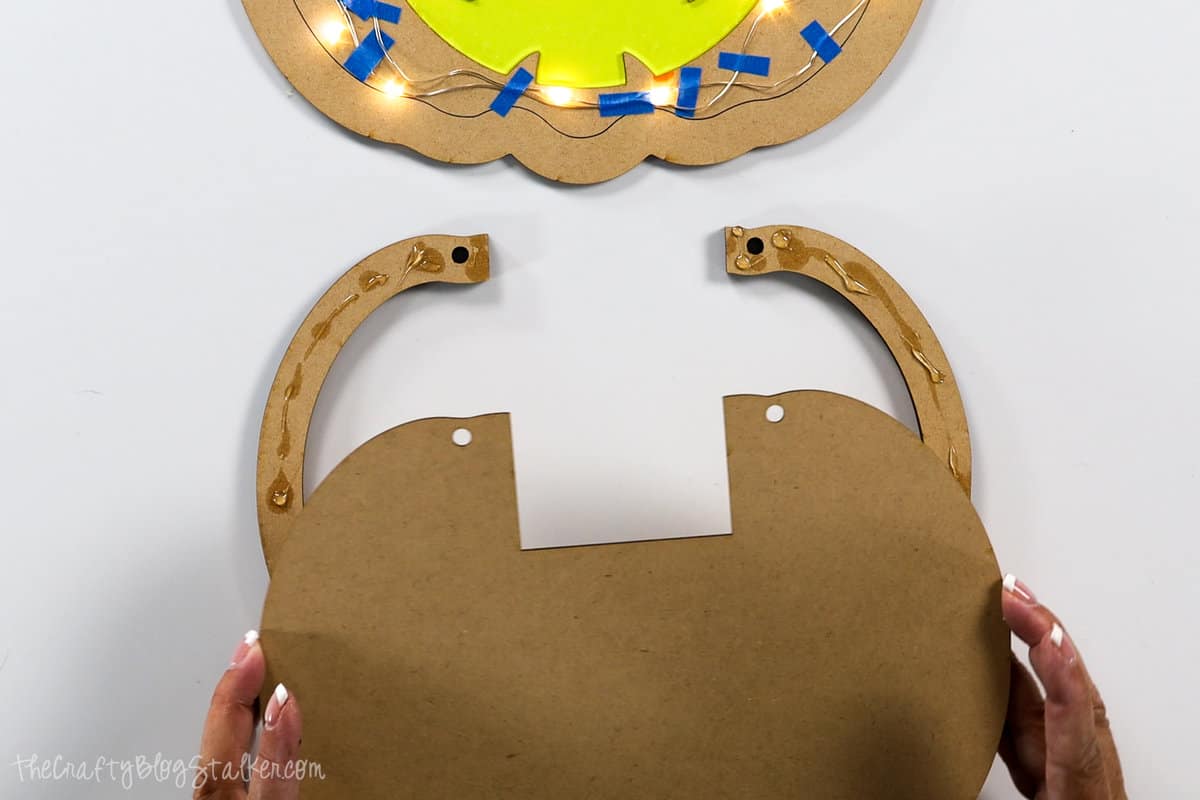
Step 3: Trace
Included with the file are two spacer pieces that give a frame to the outer edge of the pumpkin.
With the pumpkin face down, align a spacer to the back of the pumpkin. You may need to turn the spacer over to make sure it aligns perfectly with the edge of the front of the pumpkin.
With a marker, trace the spacer piece around the pumpkin.
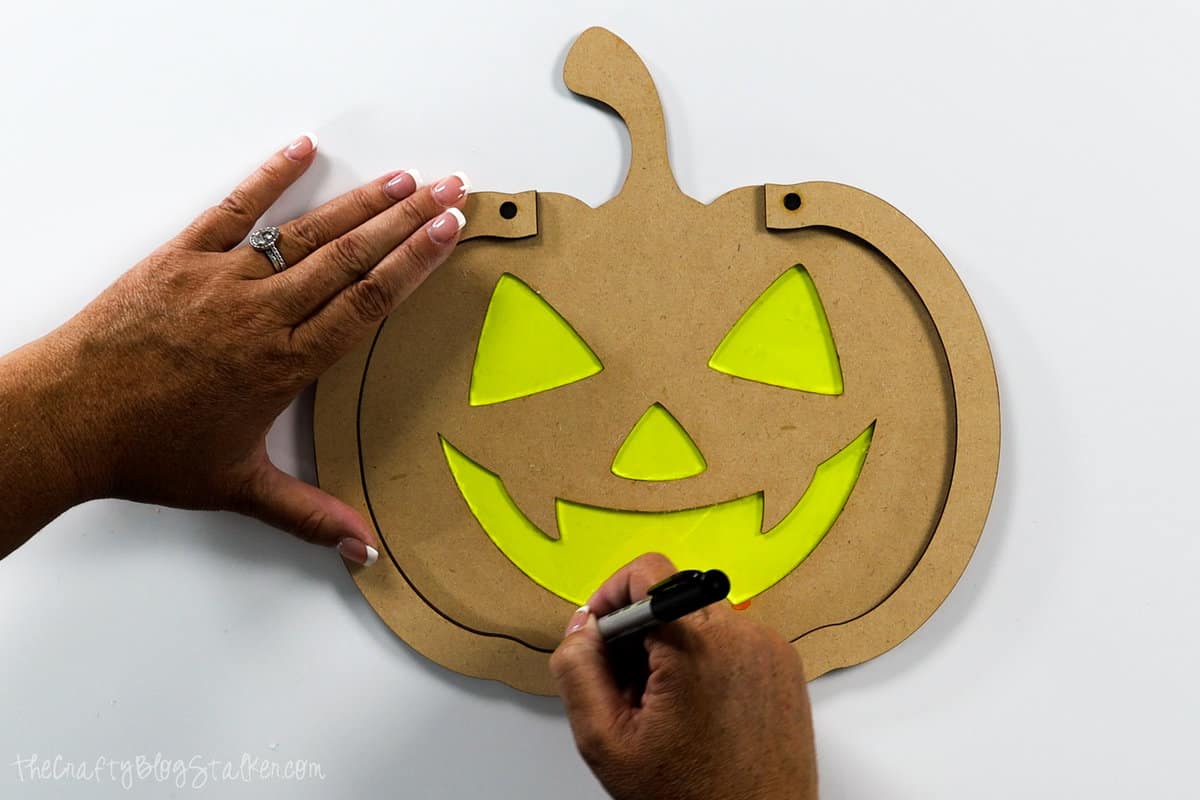
Then align the back piece to the face of the pumpkin and trace out the square where the battery pack will go.
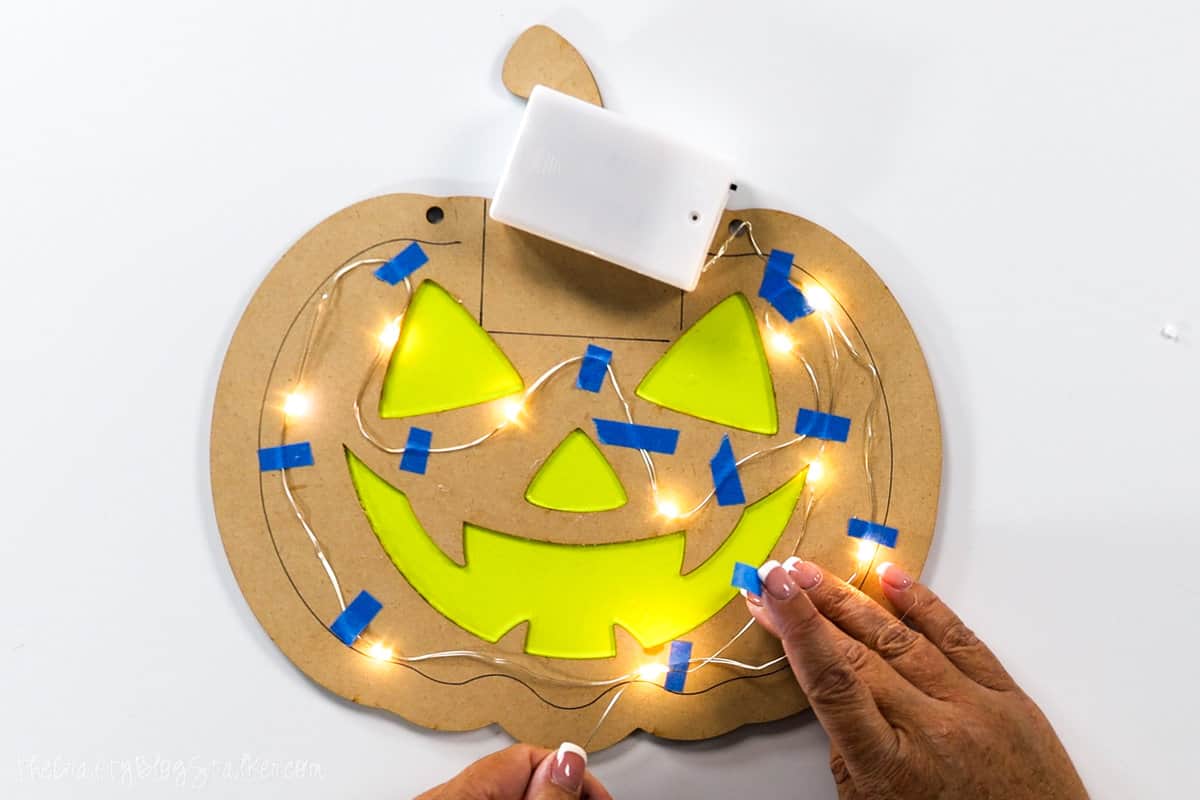
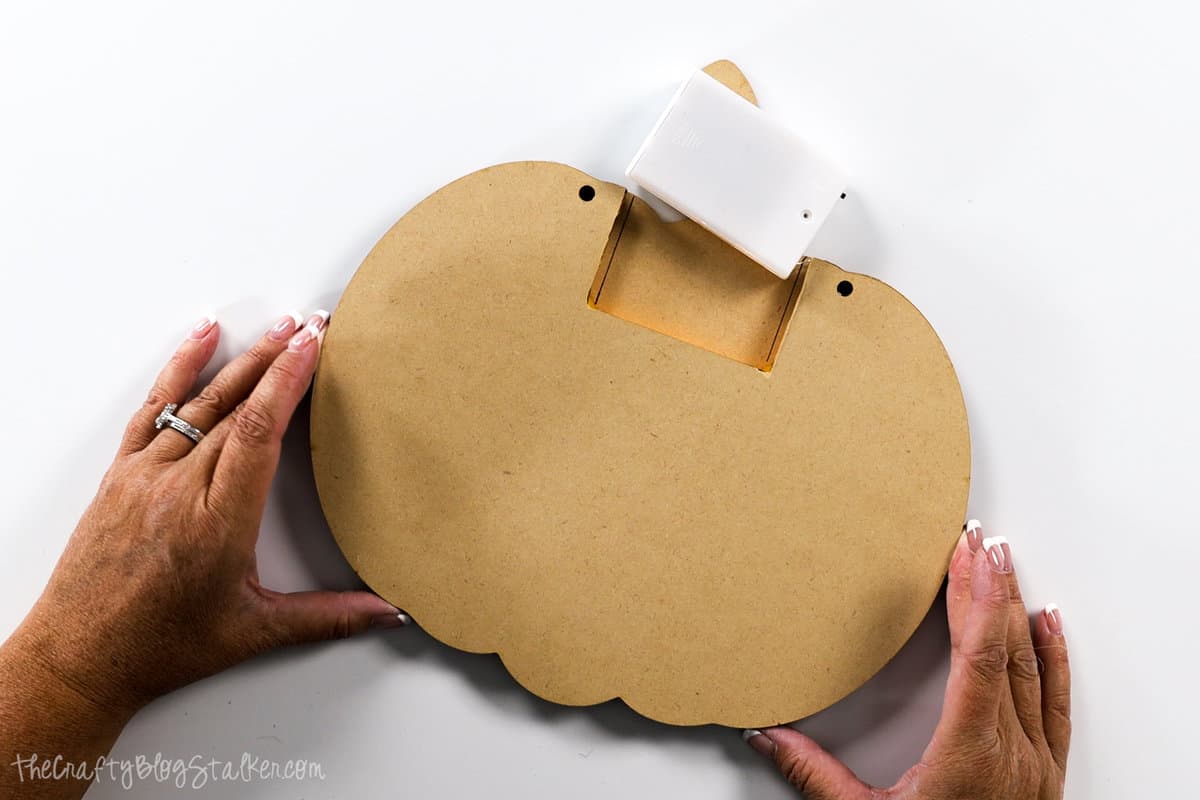
Step 4: Add Lights
Open the battery pack and insert your batteries to make sure the lights work before installing them.
Also, make sure that your battery pack fits in that rectangle on the back of the pumpkin. If it does not fit sand the edges of the back rectangle until it does.
Place the battery pack where it will go on the pumpkin, then tape the lights around the inside of the pumpkin's face. Keep the lights within that traced frame edge, and not on top of the acrylic pieces.
Step 5: Glue MDF Pieces
Apply glue on top of one of the frame edge pieces, and stack the other edge piece on tap. Making sure to align all layers.
Apply another layer of glue on the top frame edge piece, and stack the back piece, again making sure to align all layers.
Turn the stack upside down so the back piece is now against the table and the frame pieces are on top.
Also, have the pumpkin with the face down, nearby.
Apply glue to the frame edge, pick up the stack, turn it over, and carefully adhere it to the back of the pumpkin face. Making sure to align all layers.
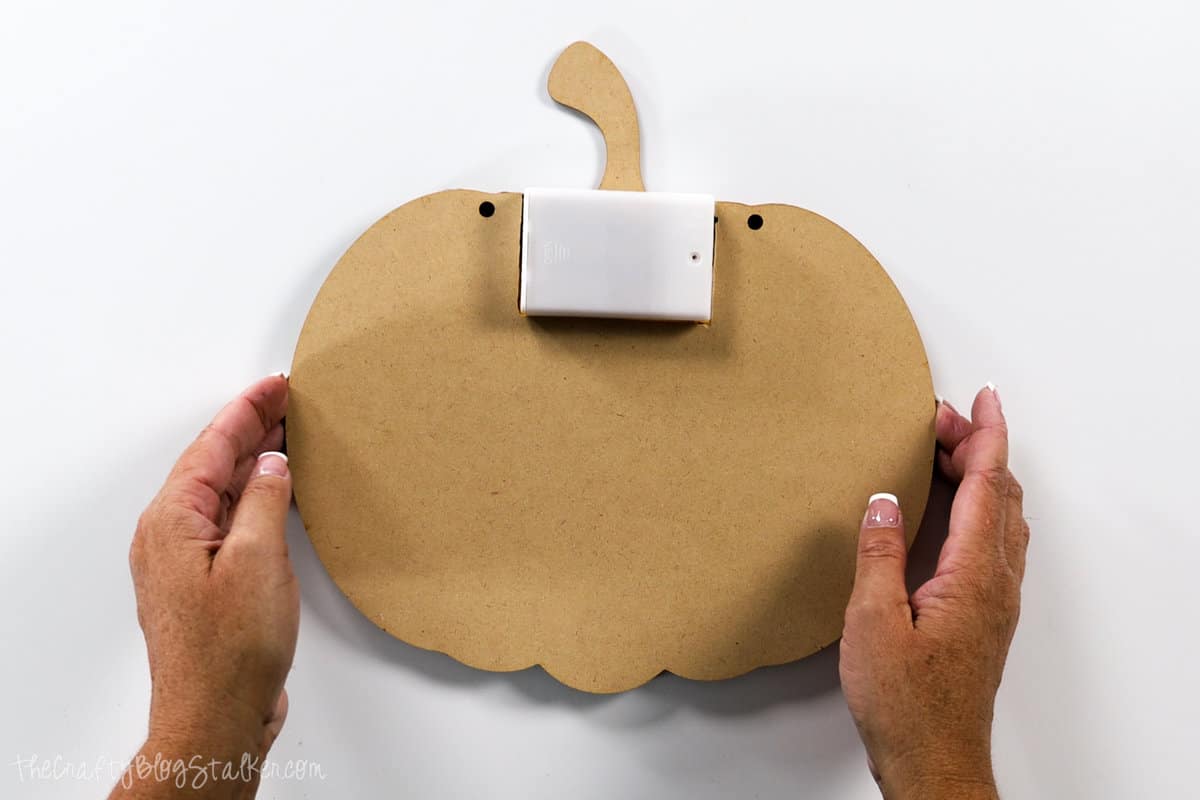
Step 6: Adhere Battery Pack
You'll want to adhere the battery pack to the pumpkin to make sure it doesn't fall and pull out your string of lights.
I did this with two command strips which are basically like velcro. That way if I ever need to remove it I can. A more permanent solution would be the E6000 glue.
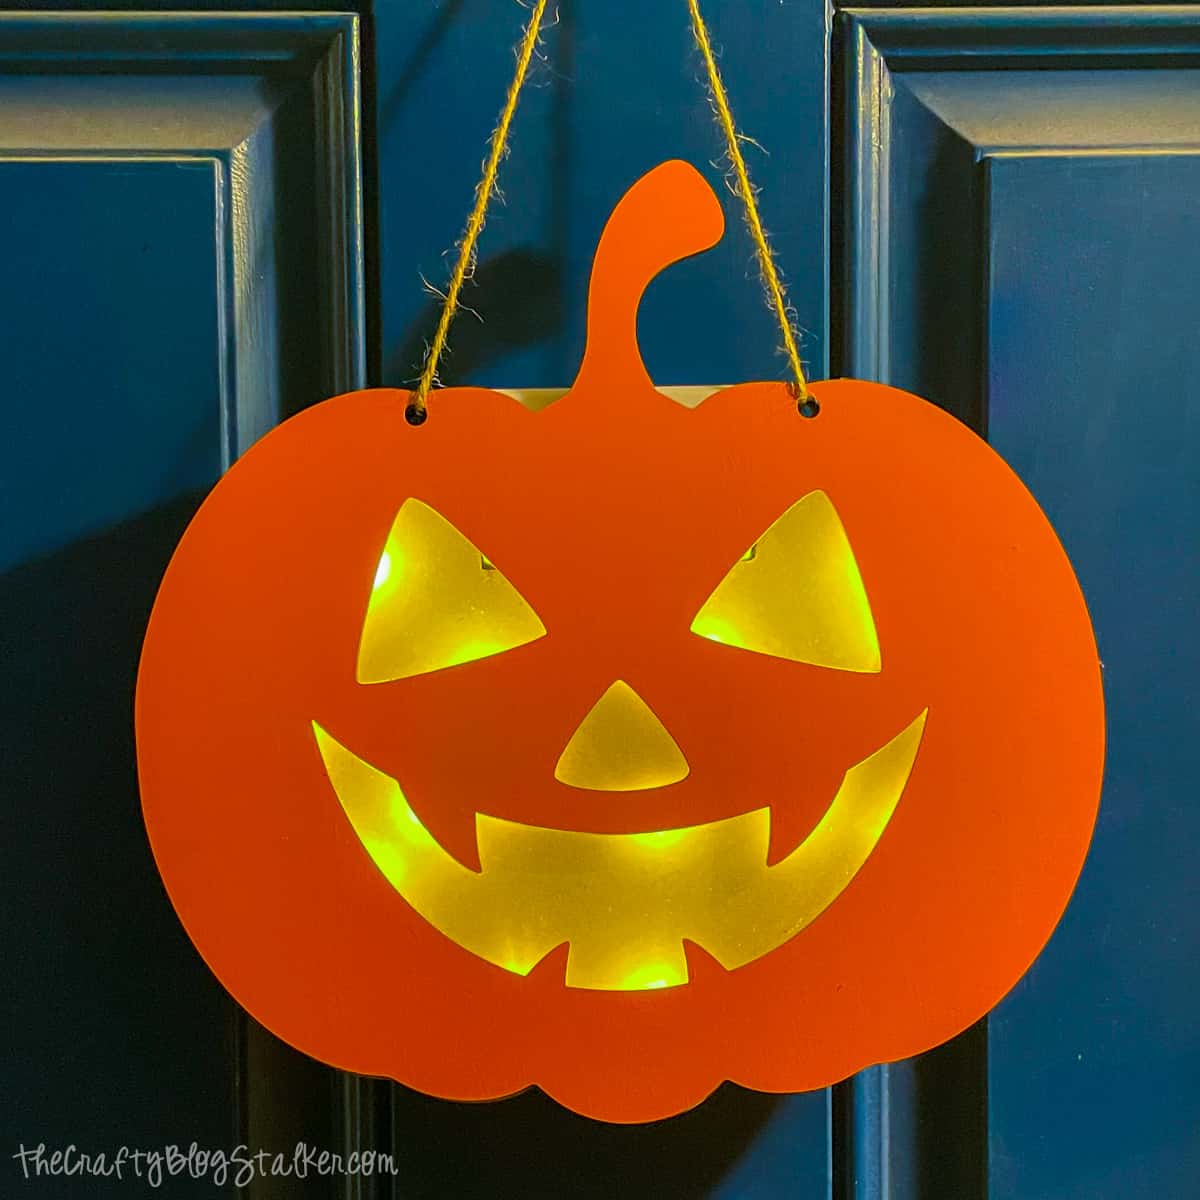
Step 7: Add Hanger
String a length of twin through the two holes at the top of the pumpkin.
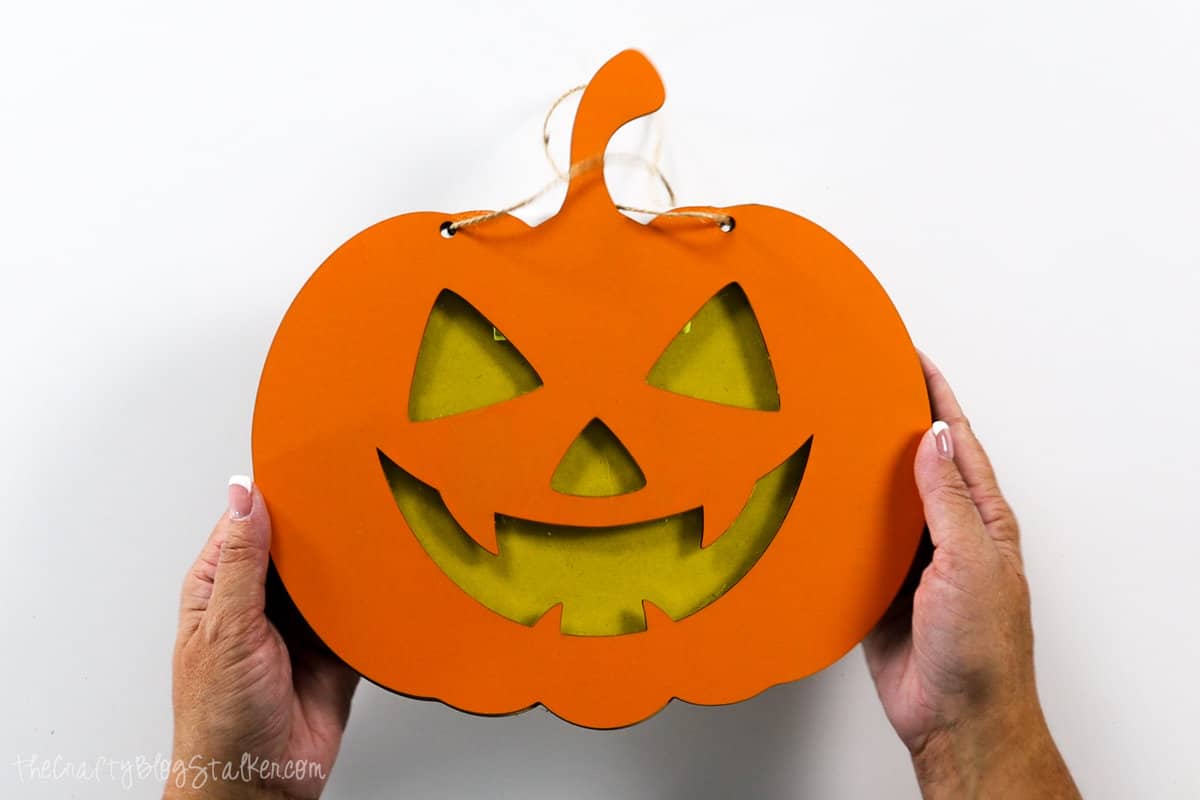
Then it is ready to be turned on and hung on your front door.
Isn't he so cute!
Our Laser Essentials List:
- I love my OmTech 50-Watt Laser. It cuts and engraves wood, acrylic, MDF Board, and so much more. Although, it does come with a learning curve.
- If you want something a bit more plug-and-play, I would highly suggest the xTool M1. This machine is much easier to learn for a laser beginner.
- Craft Closet is my favorite shop for all of my laser materials. Their materials are high quality and with the lowest price, I can find anywhere!
- But if you really want to get into lasers, I highly suggest you learn how to create your own files. Pen & Posh has a great course for this.
Follow The Crafty Blog Stalker

The post How to Make a Light Up Pumpkin Door Hanger for Halloween appeared first on The Crafty Blog Stalker.