
DIY Wall Lamp | Build Your Own Wooden Wall Lamp This Season
A wall lamp is one of the great decorations in any home. It helps illuminate the space without going over-the-top. Nowadays, a wall lamp can double as accent decor too, which makes it an ideal decor to put on any bare wall. Are you ready to make your own wall lamp?
The Perfect DIY Wooden Wall Lamp for the Gloomy Winter
I recently came across this wall lamp tutorial. It's made of wood so it's easier to work with. Since we have leftover cedar wood here as well, I just have to do this! This is the best time to take on this project because this particular winter has been really harsh lately. And although I'm still busy with some other projects this coming week, I'm putting this one in my schedule next week and hopefully, you will too.
Let's take a look at the things you'll need and the steps below:
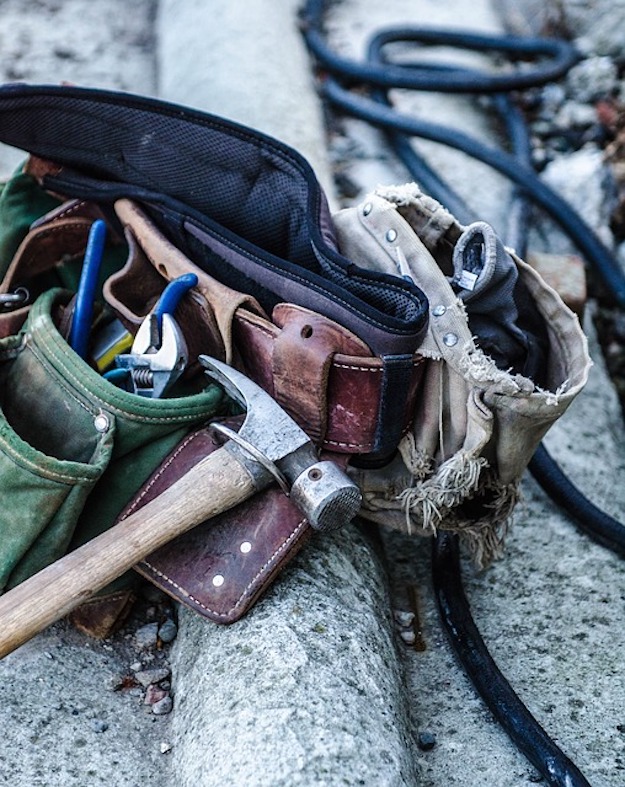
What You'll Need For Your Wall Lamp:
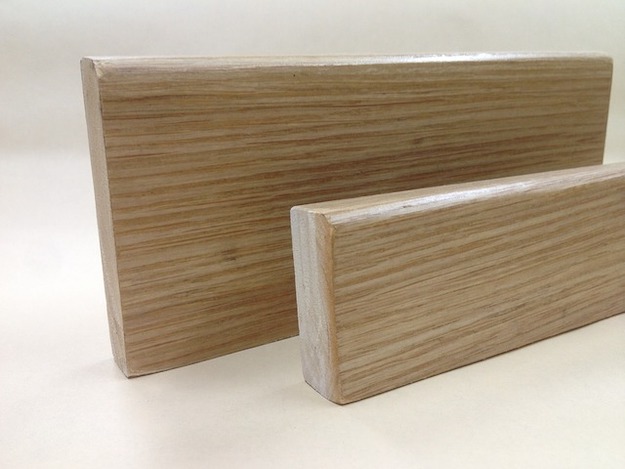
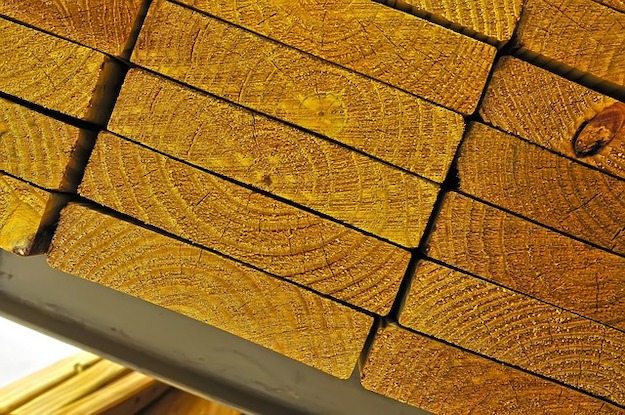
Cedar Planks (5/4 radius edge decking). One plank will be enough for a project of this size.
- Acrylic Sheet 3/16”
- Titebond 3 wood glue
- LED strip lighting – 8’ length of multi-color LEDs
- Thumbtack
- TV Mount
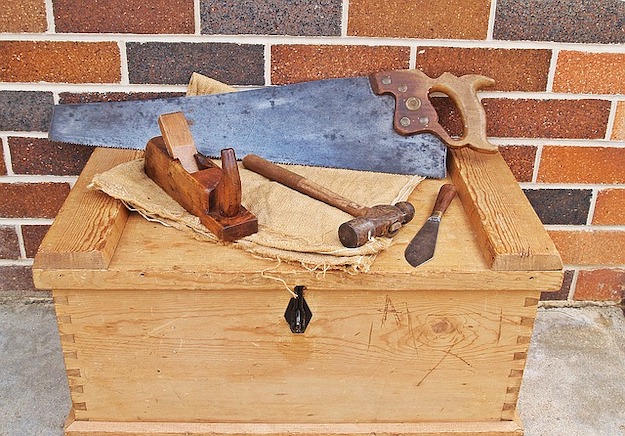
- Hammer
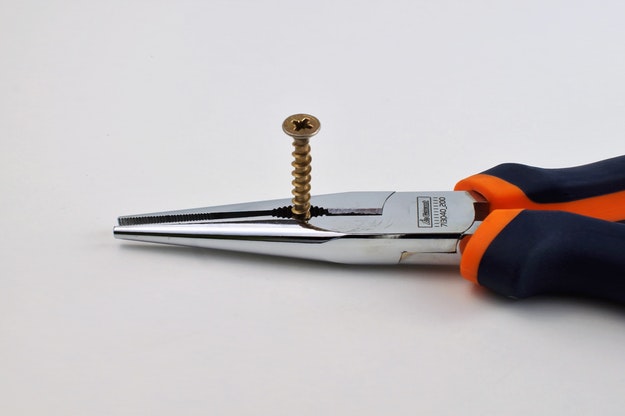
- Chisel
- Drill
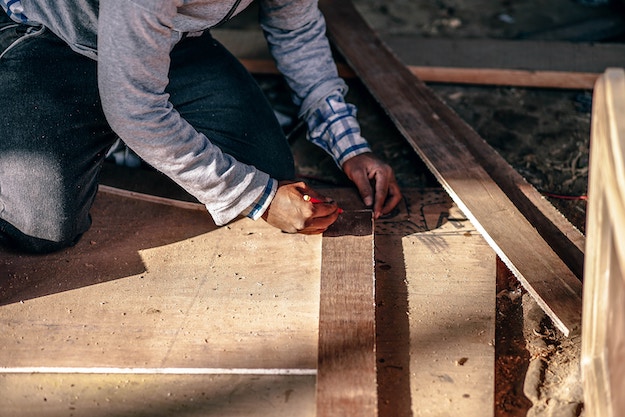
Step 1: Shave the ends and cut.
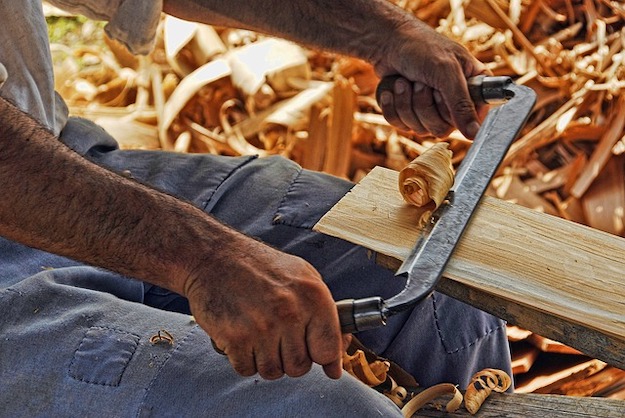
Shave the ends of the cedar planks to make them nice and flat. Cut the boards into 2 1/2″ strips.
Step 2: Cut the strips.

Cut the cedar wood strips into varying lengths of 6, 7 and 8 1/2″ blocks. You can change the length depending on your preference and how you want your final design to look.
Step 3: Split the blocks.
Split the blocks using a hammer and a chisel. The trick to getting a unique look for the wooden wall lamp is to split the blocks unevenly. To do that, split the blocks off center and angle your chisel left/right to achieve the different splits.
Step 4: Glue the blocks together.
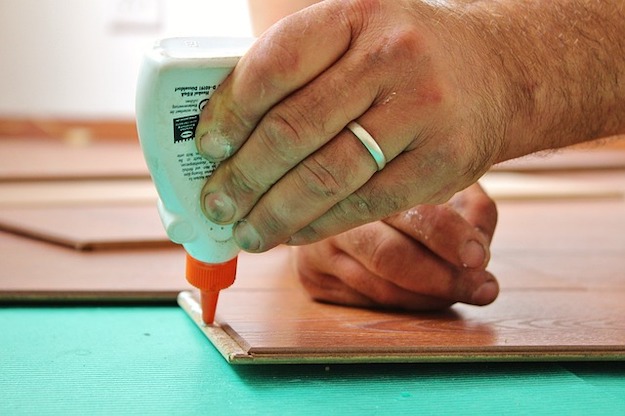
Now that you're working with wood of varying lengths, angles, color and thickness, it is up to you how you'd want your wall lamp to look like. You can either follow a pattern or put them together in random; the latter proves to be more difficult.
Step 5: Run the edges through a joiner.

After making five rows, run the edges through a joiner. This will get this set ready to be attached to the other set you'll be doing in a bit.
Step 6: Do the other set.
Again, attach the pieces of wood together until you make five rows.
Step 7: Run both sets through the joiner.
Clamp the two sets together without gluing.
Step 8: Cut the acrylic sheet.
Cut two strips of acrylic sheet measuring 3/4″.
Step 9: Sand and glue.
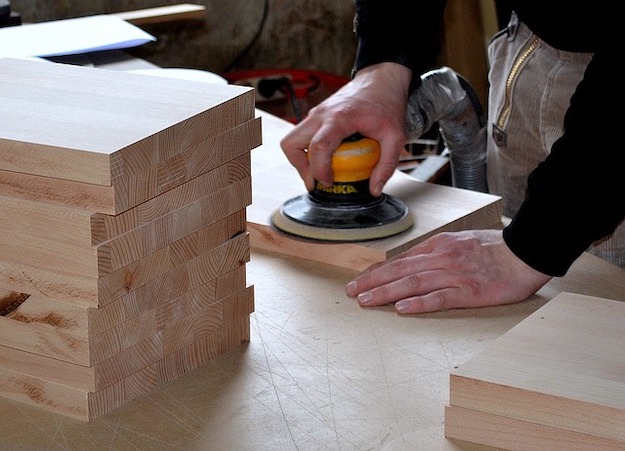
Sand all the sides of the acrylic sheet for better light diffusion. After sanding, glue the strips in between the sections.
Step 10: Install the TV mount.
Install the TV mount. Please be mindful with how deep you drill or screw as it can damage the wood in front.
Step 11: Mount the LED light strip.
To install the LED light strip, use thumbtacks. Install the LED light strip on the acrylic sheets.
Step 12: Install the wall bracket.
Your wooden wall lamp is now ready to be mounted. Drill and install the bracket. Once done, you can simply slide the wall lamp into the bracket.
Step 13: Your final product
And that's it! You have made your own DIY Wooden Wall Lamp–a perfect wall decor for your home this winter.
Check out the full tutorial from 5 Minute Learn:
How do you like this DIY Wooden Wall Lamp? Do you feel it will suit your home? If you know other wall lamp projects, please share in the comments below.
How do you feel about fleece fabric crafts? Try out these 13 DIY Fleece Fabric Craft Ideas Perfect For Cold Months!
[TAG12]
Stay connected with me on Facebook, Twitter, Pinterest and Instagram!