Today it's Sunday and time for this week's new challenge over at The Paper Players! It's my turn to host this week and since it is the fifth Sunday of the month I have a tic-tac-toe challenge for you to work with:
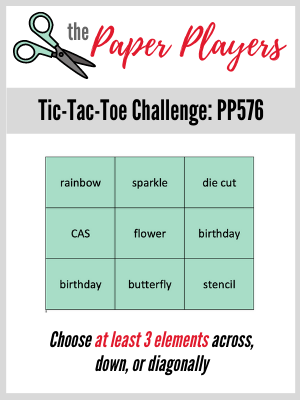
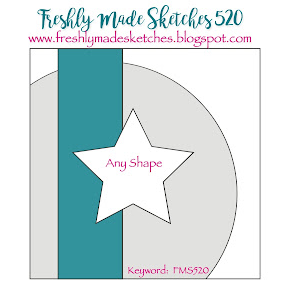
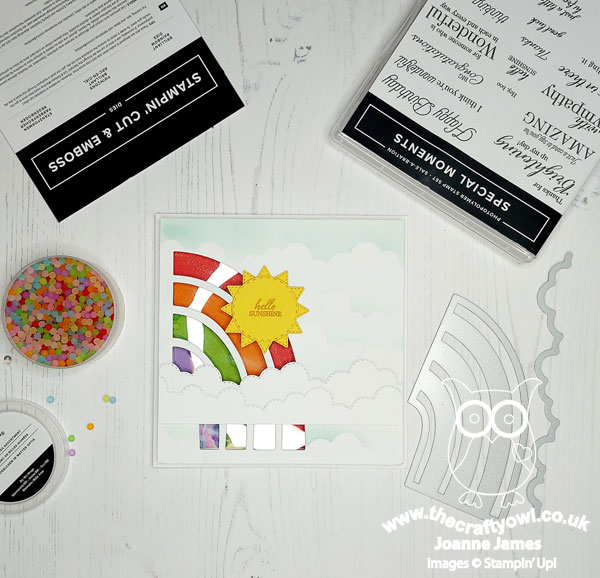
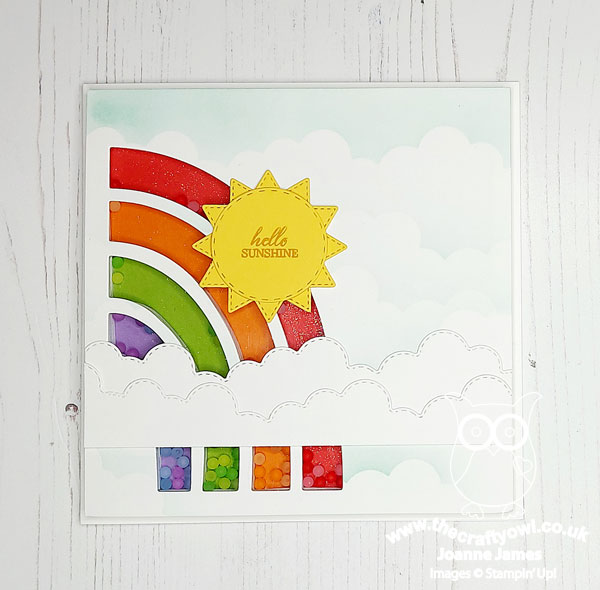
I designed this board with lots of things that I wanted to use so that when it came to making my card, I was spoilt for choice! In my excitement I duplicated the 'birthday' square and didn't notice until my dear teamie Nance had already made the challenge graphic, so I decided to go with it - we all need lots of excuses for birthday cards, right?! That said, I ended up going in a completely different direction! I used the layout from Jen M's sketch over at Freshly Made Sketches this week (I rotated the sketch 90 degrees to the left and flipped it on the vertical edge for a mirror image) and went across the top row of my board with rainbow/sparkle/diecut and made a fun rainbow shaker card - take a look:
Here's the low-down on today's card:
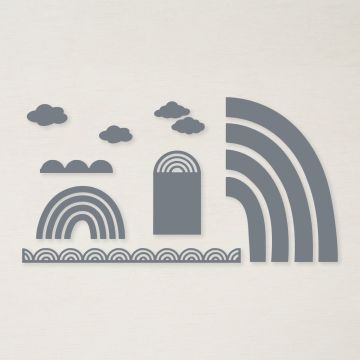
A Brilliant Rainbow - Having firstly used some Pool Party ink and a blending brush to create a cloudy sky background, I used the largest of the Brilliant Rainbow Dies to cut the windows for my half rainbow. I backed these with a piece of window sheet, ready to create my shaker.
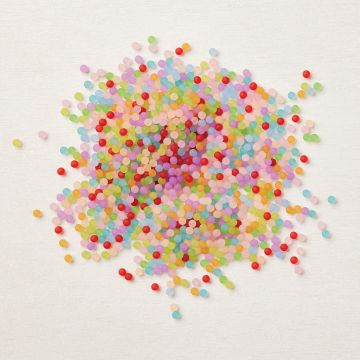
Frosted Shaker - I chose the four colours for my rainbow stripes, then selected some co-ordinating beads from the frosted beads assortment in the mini catalogue for my shaker element. For added sparkle, I brushed the coloured back panels with clear Wink of Stella. The rainbow shaker effect is so pretty - here's a close-up to show it in more detail:
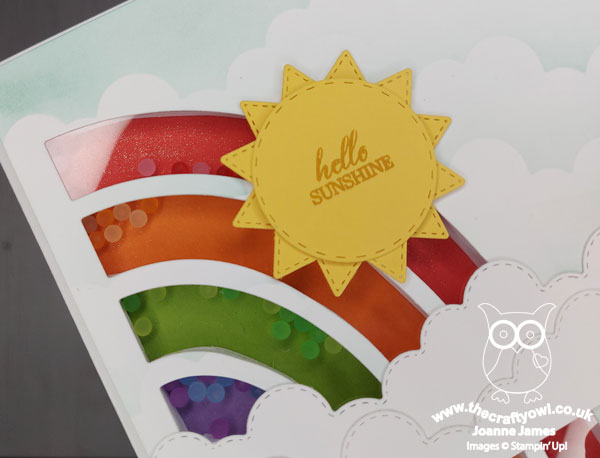
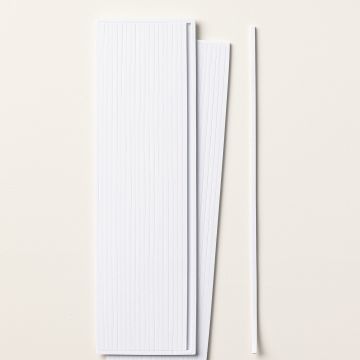
I used the foam adhesive strips to create four individual shaker elements so that I could keep the colours separate. It's worth noting that because of the size of the frosted beads, the shaker does need a double thickness of foam strips to allow your beads to shake freely. This does made the card quite thick, but I think it's worth it!
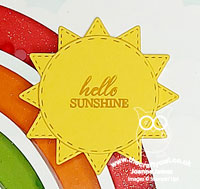
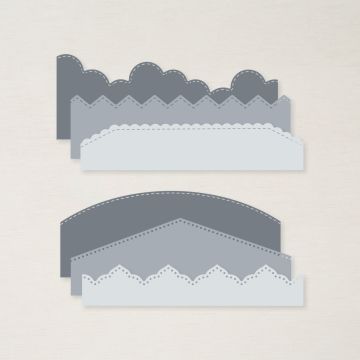
All Things Stitched - I used my Basic Borders Dies to create a border of white clouds and to make a stencil for my background, with a combination of a stitched circle and four layered stitched triangles behind for my sunshine. The sentiment is from the free Sale-A-Bration set 'Special Moments' and I paired it with another from the same set on the inside, with some faintly stencilled clouds behind:
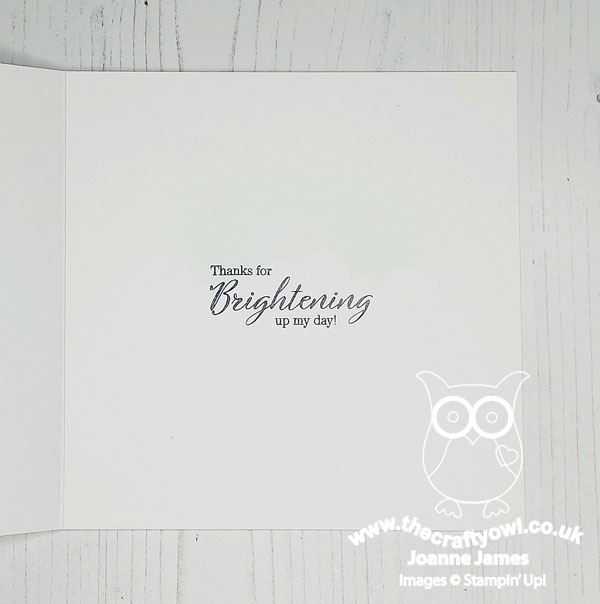
I think this will make a nice special card to show appreciation for someone who went the extra mile, don't you?
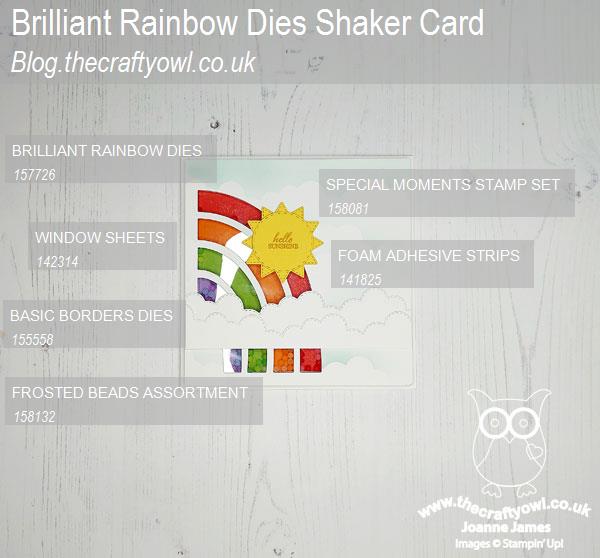
Here is the visual summary of the key products used on today's project for you to pin for easy reference:
You can see all of my Product and 'How To' summaries on my 'How To - Tips and Techniques' Pinterest board in case you've missed any.
Before you reach for your ink and papers, check out what our amazing team has created to inspire you this week:
The Paper Players Design Team
Joanne James - that's me!
1. Create a new paper project
3. Please link your card to no more than four challenges, TOTAL.
4. Have FUN!
Enjoy your day; I'll be back soon with another project. Until then, happy stampin'!
Stampin' Up! Supplies Used:
 |
 |
 |
 |
 |
 |
 |
 |
 |
 |
 |
 |
 |
 |
 |
 |
 |