
Learn how to make a custom cookie cutter stamp using the Silhouette Alta 3D printer.
Today I’m going to show you how to design and print a cookie cutter stamp that can be used to make the cutest personalized cookies for weddings, birthdays, company parties, or any other event. Or use it to cut out and stamp fondant to lay on top of a cookie instead of stamping the cookie part. You could also use this cookie cutter stamp to cut salt dough or air-dry clay to make custom ornaments or labels. Heck, you could even make one for each of your kids to use with play dough just for fun! There are just sooooo many cool project possibilities with this method!
Thank you to my partners at Silhouette for making this post possible.
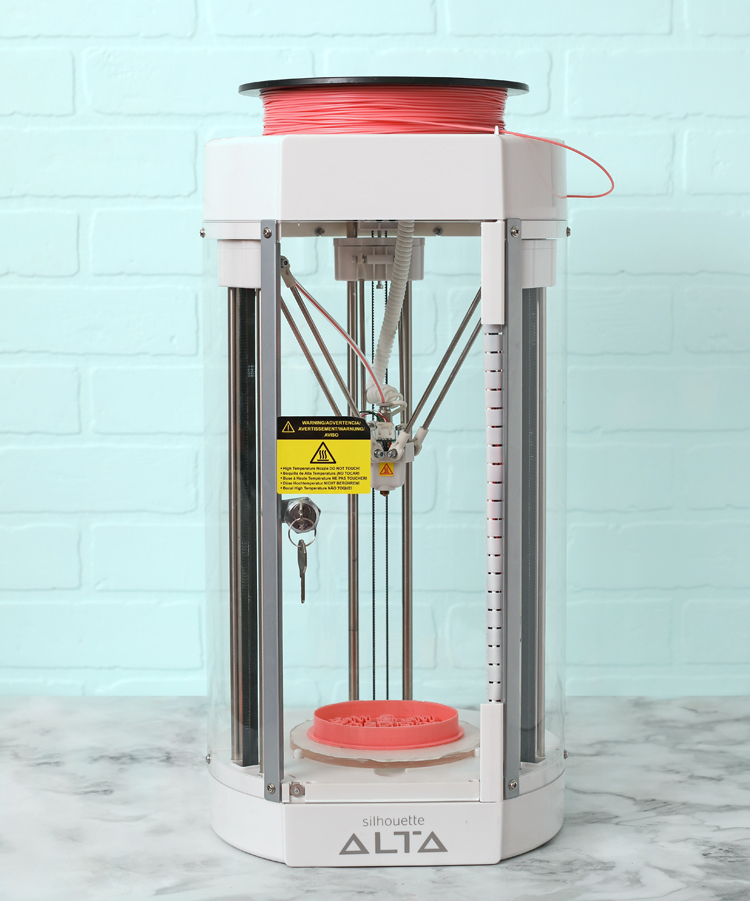
The machine I am using today is the Silhouette Alta 3D Printer. It comes with all of the tools and software you need to get started. I am also using pink 3D printer filament for today’s project. You can get 10% off your regular-priced order by clicking on the icon below.

Instructions
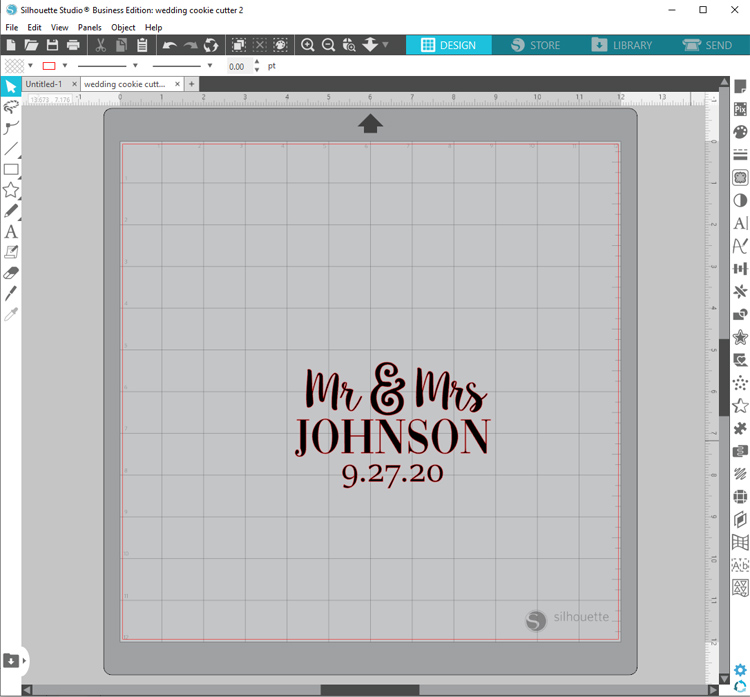
Step 1: Create a design in Silhouette Studio. You’re probably familiar with this software if you’ve used it with your Cameo machine. It’s easy to make just about any design you want. You can even download designs from the Silhouette Design Store.
You’ll need to create two parts to your cookie cutter: the outside cookie cutter part and the inside stamp part. Once you’re satisfied with your design, save the files separately (just the outside shape for one file and just the inside stamp as a second file). Save them to your computer as Silhouette Studio files.
Step 2: Open the Silhouette 3D software. Click FILE > OPEN and find the file you created in Silhouette Studio. Then the following window will pop up:
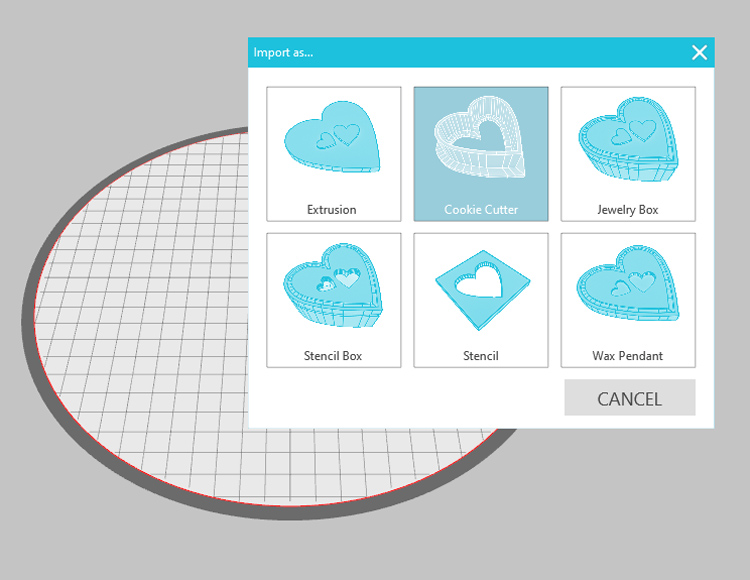
Choose the Cookie Cutter option and the file will automatically be converted to a 3D file. Isn’t that amazing?! Repeat this process for both files that you created earlier (the outside shape and the inside stamp).
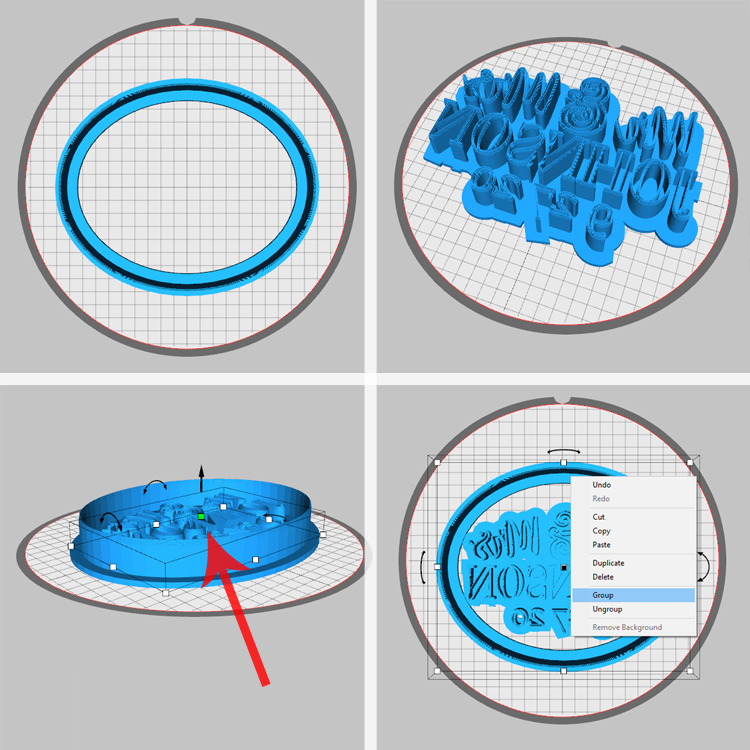
Step 3: Right click on the outside shape image, select COPY, then toggle to the inside stamp file and paste the outside shape into the screen. Adjust the two pieces until they fit together nicely.
Step 4: To make this cookie cutter stamp work correctly, the inside stamp needs to be shorter than the outside shape. Click on the inside stamp and several little white boxes will appear. The little white box in the center controls the height of the design. When you click on it, arrows will appear. Drag the arrow down until the stamp is about half the height of the outside shape.
Step 5: Select both designs, then right click and group them together.
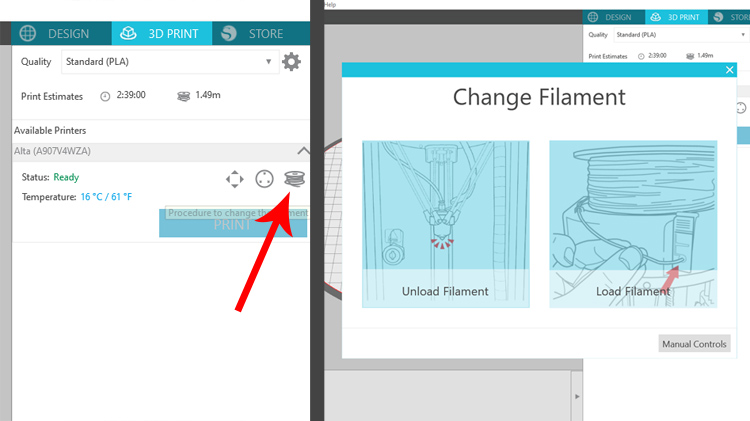
Step 6: Plug in the Silhouette Alta, turn it on and connect the USB cable to your computer. Click on the 3D PRINT tab in the upper right hand side of the screen. Then click on the spool icon and follow the directions on screen to load the pink filament.
Step 7: Once the filament is loaded and the printing tip is up to temperature, load the printing platform into the machine and make sure it has a platform tape sheet applied to the top. Follow the prompts in the software to begin printing your cookie cutter. I selected the STANDARD printing quality option and it seemed to work well.
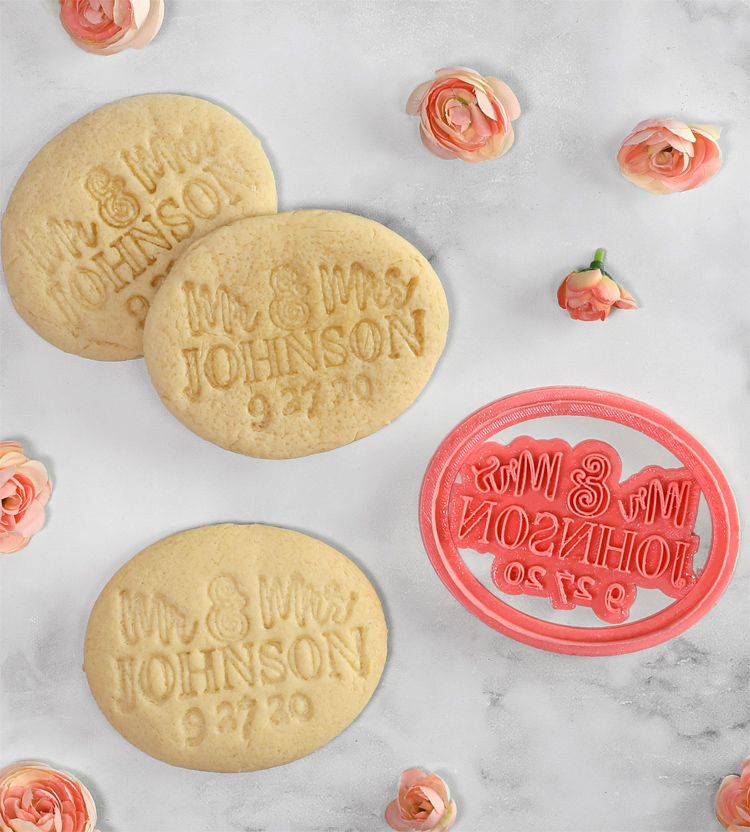
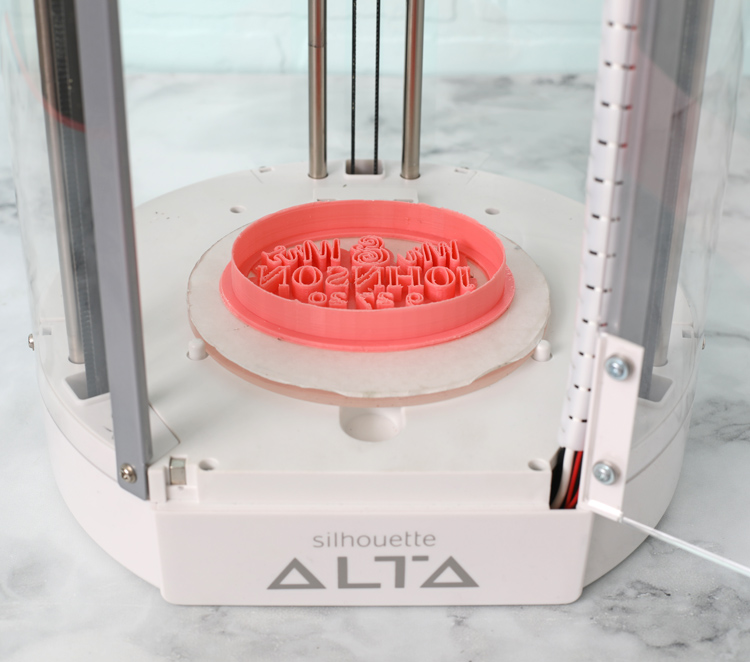
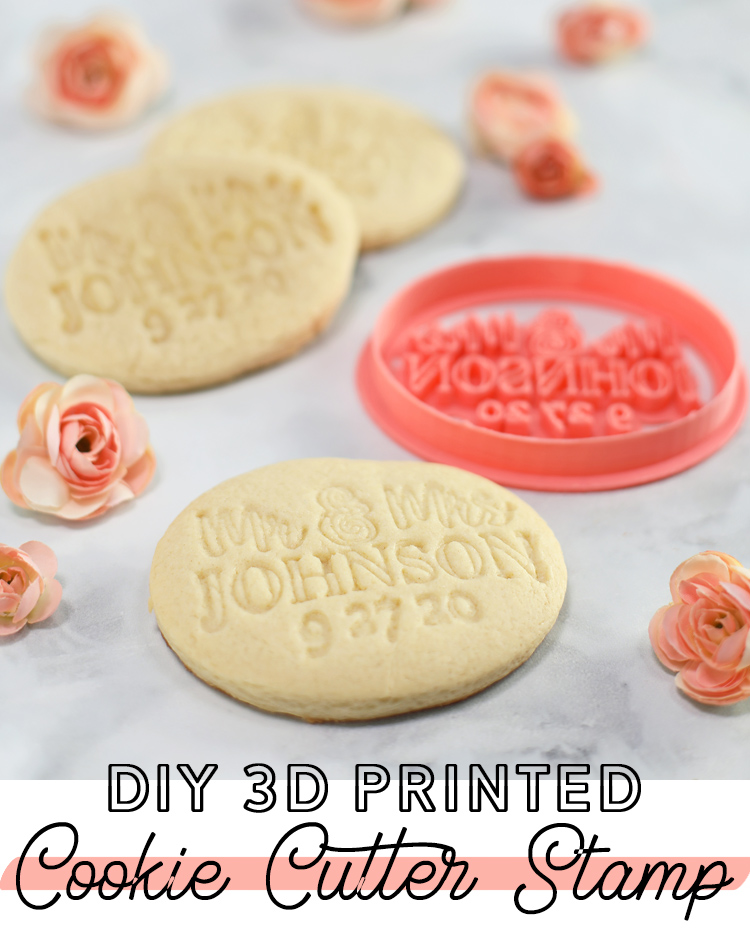
The print job took about 2.5 hours, but look what I made! It’s a perfect, custom cookie cutter stamp! When the printer finishes, be sure to wait a few minutes for the plastic to cool before using the included spatula tool to gently pry the design off of the printing platform.
I found a sugar cookie recipe that said it didn’t spread and was supposed to be used for cut-out cookies. Then I used my brand spankin’ new cookie cutter and it worked like a dream. I rolled the dough out so that it was just barely below the height of the cutter, then pressed it into the dough. It left a perfect impression and cut the cookie out at the same time!
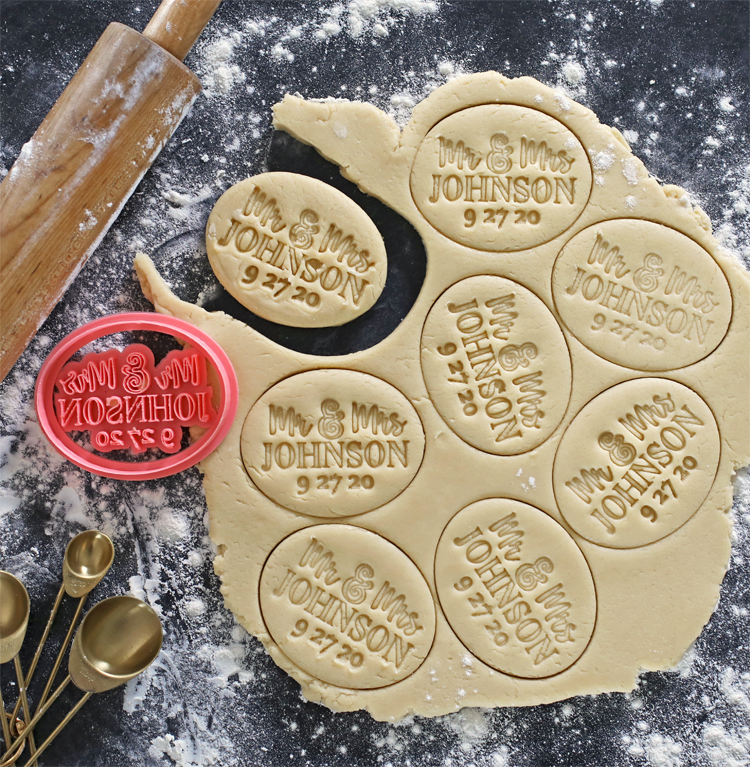
My dough did end up spreading a little bit (that’s why I’m not sharing the recipe I used… I still have some experimenting to do to get it perfect), but the cookies still turned out cute.
There are so many ways you could decorate these. Leave them as is, use food paint to fill in the design, add food coloring to the dough before baking, or even add edible gold leaf! I will definitely be experimenting a ton. There are just so many possibilities!
Like this project? Pin it so you don’t forget it!
This post was sponsored by Silhouette America. All ideas and opinions are my own.
The post 3D Printed Cookie Cutter Stamp appeared first on The Craft Patch.